
This post may contain affiliate links. Please see our disclosure policy.

Make your own playdough with the BEST no cook playdough recipe. You’ll love this easy, gluten-free method perfect for gluten-sensitive or celiac toddlers and kids! Natural materials, perfect consistency– the ultimate rainy day (or any day!) activity.
Why You’ll Love This Recipe
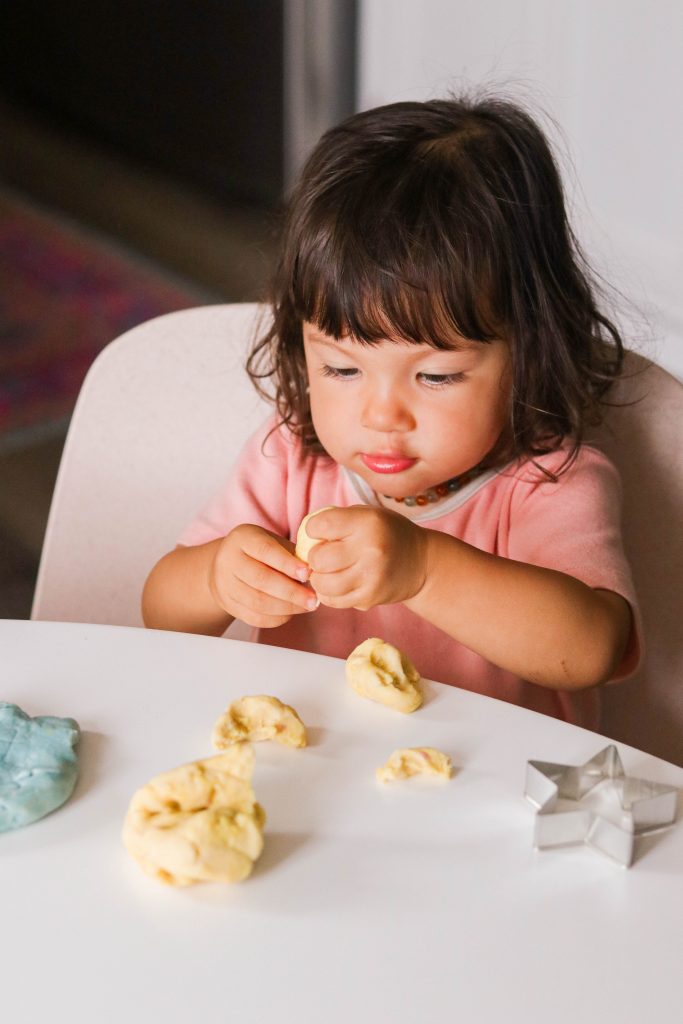
I have an almost 2-year-old, and I’ve been trying to get creative with some toddler activities that she might be interested in. Since she loves sensory play, playdough seemed like the perfect thing she can occupy herself with to enrich her creative side.
However, the classic Play-Doh ingredients (here’s their patent) include preservatives, chemical fragrances, and synthetic dyes that I would rather my kid not swallow (since she puts everything in her mouth). The original recipe also contains wheat, which isn’t ideal if your kid is gluten-sensitive. There ARE several cleaner, better-for-you brands of store-bought playdough that you can buy, but I’ve found that they can get pretty pricey.
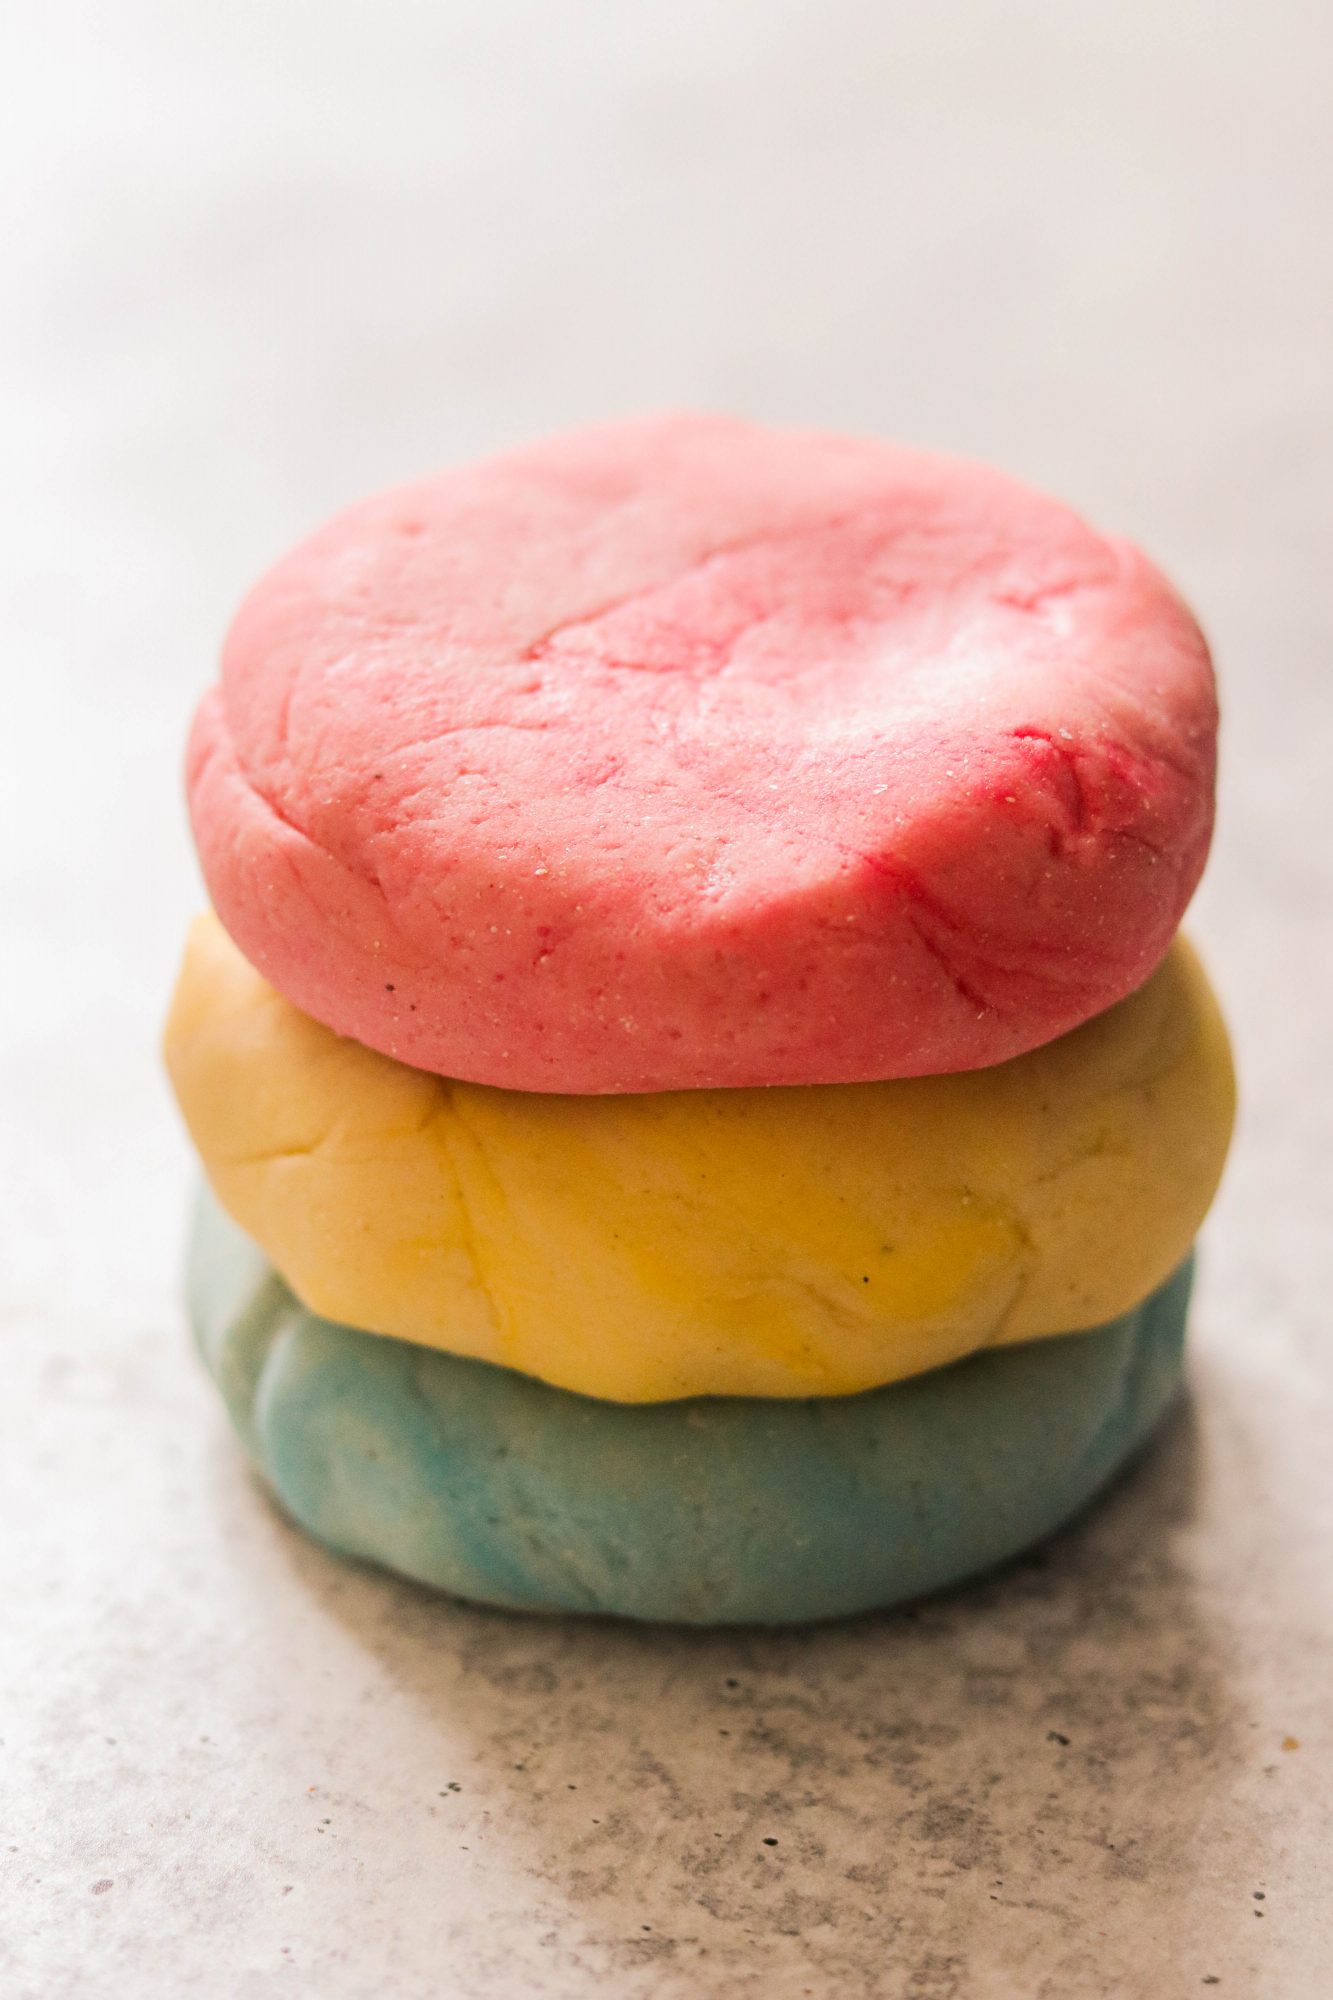
Luckily, it’s actually SO easy to make your own homemade, No Cook Playdough Recipe that’s gluten-free with great texture. My kid has been loving playing with and I don’t have to worry about her accidentally swallowing it! All you need are simple ingredients to make a quick batch of playdough that will last up to 3 months!
How to Make This No Cook Playdough Recipe
If you are looking for an easy homemade playdough recipe, you will love this one. In most homemade versions I’ve seen, you have to heat the dough in a pot until it firms up. Depending on the type of flour you use, it can become a sticky mess and not turn out. However, with this recipe, it doesn’t require that extra step. You just need to boil water, which I honestly don’t consider cooking!
There are just 6 basic ingredients, and it takes only 15 minutes to make!
Ingredient Notes

- All-purpose gluten free flour: I used Bob’s Red Mills brand, but other brands may work. I’ve heard that King Arthur’s brand is not great for playdough, so I would avoid that brand.
- Salt
- Cream of tartar: You’ll see many recipes of homemade playdough with cream of tartar. Despite the name, cream of tartar is dairy free, and it’s what makes the texture soft.
- Boiling water
- Olive oil or coconut oil
- Food coloring: I used this natural brand. While it’s not as bold as conventional food coloring, I would rather choose more natural ingredients for what my family uses. Just a personal preference! I haven’t tried them but these food coloring powders may also be a great healthier alternative.
Step-by-Step Instructions

- Stir together the dry ingredients: gluten-free flour, salt, and cream of tartar in a large mixing bowl.
- Combine boiled water and oil in a separate large bowl.
- Pour the water and oil mixture over the flour mixture and stir with a wooden spoon until a dough forms.
- Knead into a ball with your hands. If the dough is too dry, add a bit more water. If it’s too wet, add more flour. Transfer to a parchment or wax paper.
- Knead with your hands a few more times, then divide the dough equally into the number of colors you want to create.
- Use your fingers to make a dent in the center of each dough, then add 5-6 drops of food coloring to start. Knead until the color is fully incorporated, adding more for a bolder hue. Since you are adding moisture with food coloring, you may need to add a little bit more flour if the texture gets too sticky.
- How to store homemade playdough: Store in a resealable zip-lock bag or an airtight container at room temperature. If the playdough gets too moist or too dry during storage, you can fix the consistency with more flour or water.

Tips & Tricks
- Storage: If stored at room temperature in an airtight container or zip-top bag, homemade playdough can last up to 3 months. If the texture does change to too wet or dry, you can knead in some flour or water to fix it.
- Colors: You can combine primary colors (red, yellow, and blue) for different colors and shades! Red and yellow will make orange, yellow and blue will make green, and red and blue will make purple. You can even knead the primary color doughs together after you make them to create new color dough.
- Essential Oils: You can add a drop or two of your favorite essential oils as a fragrance for your playdough if desired. Be sure to use as directed and consult your doctor if there are any allergies.
Recipe FAQs
It actually has a pretty long shelf life. If stored at room temperature in an airtight container or bag, homemade playdough can last up to 3 months. If the texture does change to too wet or dry, you can knead in some flour or water to fix it.
Depending on what flour you use or if you’re in a humid climate, the dough can be a little sticky or too dry. You can add more flour or boiled water when kneading to reach the ideal consistency.
Not only is this homemade playdough with cream of tartar is gluten free, it’s dairy free as well. Despite the name, cream of tartar is dairy free and it’s what gives the playdough that soft and malleable texture. It’s an acidic powder and it’s a byproduct of fermenting grapes into wine (there’s no alcohol in it). You can usually find it in the spice aisle at your local grocery store.
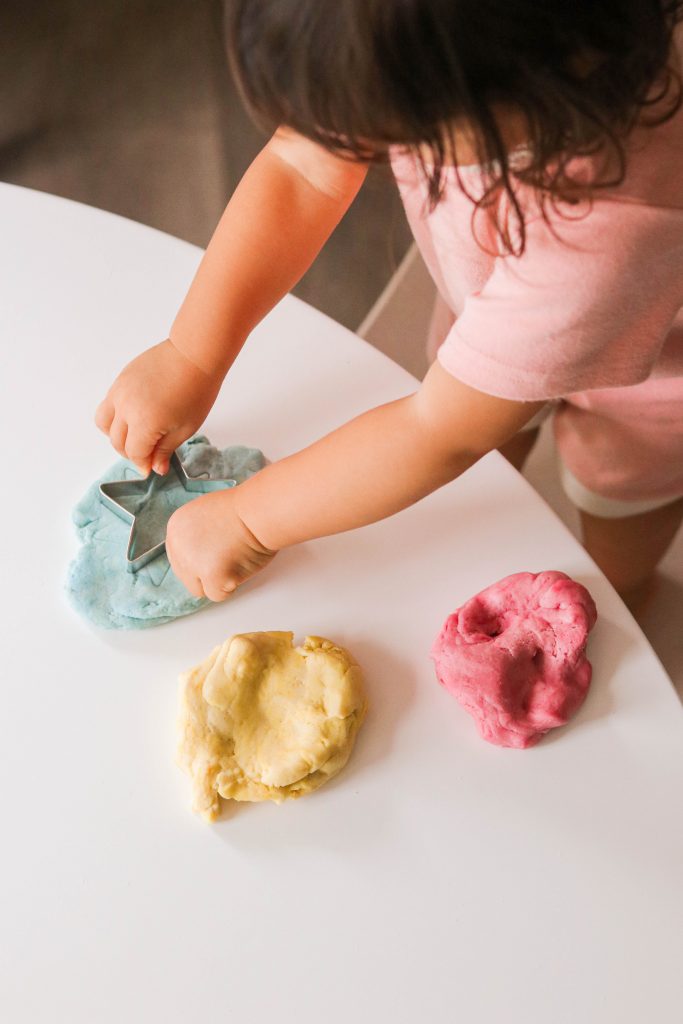
Playdough is an excellent sensory activity that can promote fine motor skills. Grab some cookie cutters and let those little hands explore and cut and shape the play dough. It’s perfect for creativity and hands-on play.
More Healthy Family Recipes
Non Toxic Baby Products For The Nursery and Registry
Homemade Baby Puffs Recipe for Babies Over 6 Months (Gluten Free & Dairy Free)
Allergen Free Paleo Smash Cake (Egg Free, Grain Free, Nut Free, Sugar Free)
Healthy Homemade Popsicles for Toddlers
How to Start Solids at 6 Months: Our Experience
If you make this recipe, please leave me a star rating and comment below! I love to hear your thoughts and feedback. Follow me on social media Instagram, Facebook, and Pinterest for even more delicious recipes!

Easy Homemade No Cook Playdough Recipe (Gluten Free)
Ingredients
- 1 cup all-purpose gluten free flour I used this brand
- 1/4 cup salt
- 1 tsp cream of tartar
- 1/2 cups boiled water
- 1 tbsp olive oil or coconut oil
- Food coloring I like this natural brand
Equipment
- Parchment or wax paper
- Resealable plastic bag or airtight container
Instructions
- In a large mixing bowl, stir together gluten free flour, salt, and cream of tartar.1 cup all-purpose gluten free flour, 1/4 cup salt, 1 tsp cream of tartar
- In another bowl, combine boiled water and oil. They will separate but that's okay.1/2 cups boiled water, 1 tbsp olive oil or coconut oil
- Pour the water and oil mixture over the flour mixture, and stir with a wooden spoon until a dough forms.
- Use your hands knead into a ball. If the dough is too dry, you can add a bit more water. If it's too wet, add more flour until it reaches the right consistency. Transfer to a parchment or wax paper.Parchment or wax paper
- Knead with your hands a few more times, then divide the dough equally into the number of colors you want to create.
- Make a dent in the center of each dough, then add 5-6 drops of food coloring to start. Knead until the color is fully incorporated (this can take a bit of time), adding more for a bolder hue. Since you are adding moisture with food coloring, you may need to add a little bit more flour if the texture gets too sticky.Food coloring
- Store in a resealable plastic bag or an airtight container at room temperature. If the playdough gets too moist or too dry during storage, you can fix the consistency with more flour or water.Resealable plastic bag or airtight container
Notes
Tips & Tricks
- Storage: If stored at room temperature in an airtight container or zip-top bag, homemade playdough can last up to 3 months. If the texture does change to too wet or dry, you can knead in some flour or water to fix it.
- Colors: You can combine primary colors (red, yellow, and blue) for different colors and shades! Red and yellow will make orange, yellow and blue will make green, and red and blue will make purple. You can even knead the primary color doughs together after you make them to create new color dough.
- Essential Oils: You can add a drop or two of your favorite essential oils as a fragrance for your playdough if desired. Be sure to use as directed and consult your doctor if there are any allergies.
Regarding other affiliate links and affiliate relationships: In order for me to support my blogging activities, I may receive monetary compensation or other types of remuneration for my endorsement, recommendation, testimonial and/or link to any products or services from this blog. Thank you for your support and understanding.

Awesome recipe! My 2 year old approves, and she even enjoyed making the recipe with me (the safe parts for little hands of course haha). I was able to substitute the cream of tartar with baking soda (1 ¹/² tsp baking soda to 1 tsp cream of tartar). Absolutely recommend this recipe, and sharing it with my friend for their classroom kiddos!
I’m so glad the substitution worked! Thanks so much for leaving a review.
I’m so pleased to have a constant resource for gluten free playdough that doesn’t require cooking! However after doing this recipe multiple times it always comes out a bit too sticky still so I end up “kneading”(lol) to add another 2 Tbsp of flour so it’s a good consistency. But really grateful for this recipe 🙂
Yes, as the recipe suggests, you can adjust the amount of flour and water depending on the consistency. Every gluten free flour is different!
Do you know, if I want to bake the items the children make, will it crack or break?
Hmm I actually haven’t tried! Maybe you can test it out with a small piece.
I originally decided to make my stand-by tried and true playdough recipe and just swap out white flour for GF flour. Believe me, it was way too sticky. I had to throw away a whole batch. This one is a little dry, even with added water, but it’s way better than being too sticky. Thanks for all the work you put into this to create a GF playdough recipe!! BTW, since I do one color for the whole class, I add the color to the water/oil mix and it works perfectly. Not a bright color, but they’re still happy with it. Thank you again.
SO happy to hear that!! I appreciate your review. 🙂