This post may contain affiliate links. Please see our disclosure policy.

Learn the benefits of oil cleansing, how oil cleansing works, and the best cleansing oil to use. If you’re struggling with skin issues like acne, blackheads, oily skin, and dry skin, this how-to guide is for you. Step-by-step instructions for a new cleansing routine– healthy skin is coming your way!
Why You’ll Love This How-To Guide
Oil cleansing is one of my favorite non-toxic cleansing methods in my skincare routine that has done wonders for my skin. Instead of using traditional cleansers, I usually oil cleanse at night, and it works so much better than a regular facial cleanser to remove makeup, clean my skin, and help it look fresh and smooth afterward.
I was skeptical and unsure about it when I first tried it out, but now it has become a regular routine after seeing how well it actually DOES work! From one skeptic to another, I hope this guide helps you!
What is Oil Cleansing?
Oil cleansing is a method where you use oils to clean your skin instead of soap and water. It works well for ALL skin types and even with acne-prone skin! However, if you have sensitive skin, test it out on a small area first.
Some people are afraid to use oil on their skin, especially if they have oily or acne-prone skin, but with the right type of oil, you’ll find that it can be a safe and gentle method that detoxes your skin and cleans even better than soap, without erasing the good bacteria in your skin that you actually need!
Our skin’s physical barrier can weaken with an increased imbalance in pH with stress, diet, oxidative stress, and even conventional cleansers and moisturizers that may contain toxic or harmful ingredients. Oil cleansing can help your skin improve strength while rebalancing its pH and its natural oils.
Benefits of Using the Oil Cleansing Method
There are many benefits of using the oil cleansing method, and it works for all skin types. Here are some reasons why you may consider trying it out for yourself:
- Deep cleans, removing impurities, makeup, and dead skin cells
- Cleans skin without over-drying or irritating the skin
- Reduces acne by removing excess sebum and oil
- Clears our clogged pores and reduces blackheads and whiteheads
- Leaves skin soft, smooth, and hydrated
- Can be a less expensive option than traditional skincare products

How Does Oil Cleansing Work?
Similar to the concept of “like dissolves like”, massaging your skin with oil loosens up the oil on your skin, as well as the impurities stuck in your pores and whatever makeup you have on. You massage in circular motions for a minute or two, then use a damp washcloth soaked in warm water to steam your face.
Steaming with a clean cotton or muslin cloth is an important step because the warm water allows your pores to open up so any dirt, impurities, and bacteria can be drawn out and rise to the surface of your skin. You then wipe your face with the cloth until your skin is clean and smooth.
You can then choose to double cleanse with another face wash if you have specific skin needs or moisturize if you feel like you need it – although it’s not necessary.
When done with the right oils and method, it can improve issues like dryness, blackheads and whiteheads, and even oily or acne-prone skin!
Expect a Detox Period
Keep in mind that your skin may experience a detox reaction for the first several days or up to 2 weeks of oil cleansing, and you may experience some breakouts or whiteheads. This happens because the dirt and impurities in your pores are finally able to loosen up and release, but this shouldn’t last longer than 2 weeks. I promise it’ll all be worth it when you see how great your skin looks afterward.
When I first started incorporating oil cleansing in my skin care routine, I went through a detox period in the first week when I broke out on my chin a lot. However, this went away after the adjustment period, and my skin is healthier than it’s ever been.
My skin is on the dry side, but after I started oil cleansing, the moisture level has increased, and I rarely get acne anymore, which I used to get quite frequently. I only wash my face once a day with the oil cleansing method, and it’s enough to keep my skin healthy and radiant. I also love that I don’t have to use a makeup remover anymore because oil cleansing removes it all effectively.
Best Products for Oil Cleansing
It’s incredibly important to use the right products and oils for oil cleansing. If not, it may actually worsen your skin. When you open up your pores through oil cleansing, not only do things come out of your pores but the products and oils you use seep into them as well.
Because of this, make sure to only use clean products with safe and toxin-free ingredients. There are so many different oils out there, so be sure to check ingredients and additives.
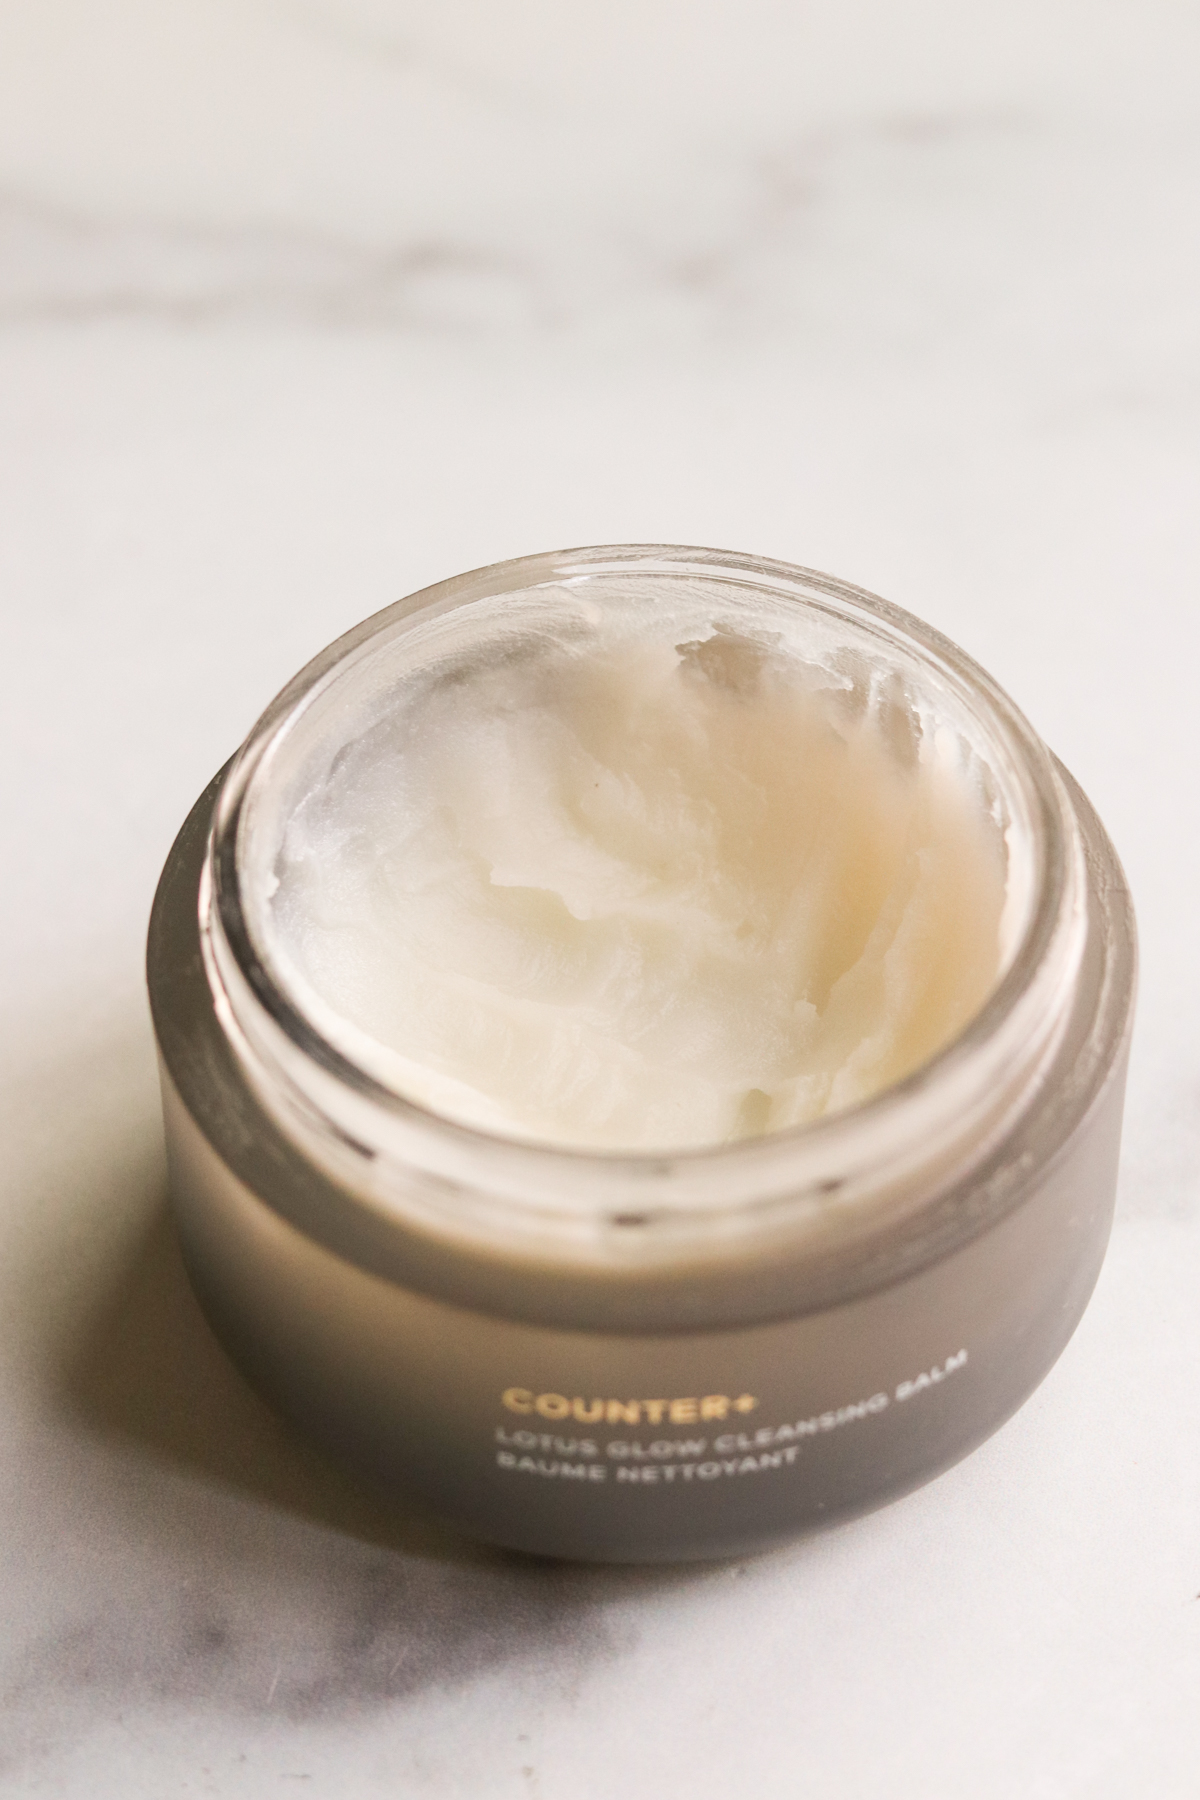
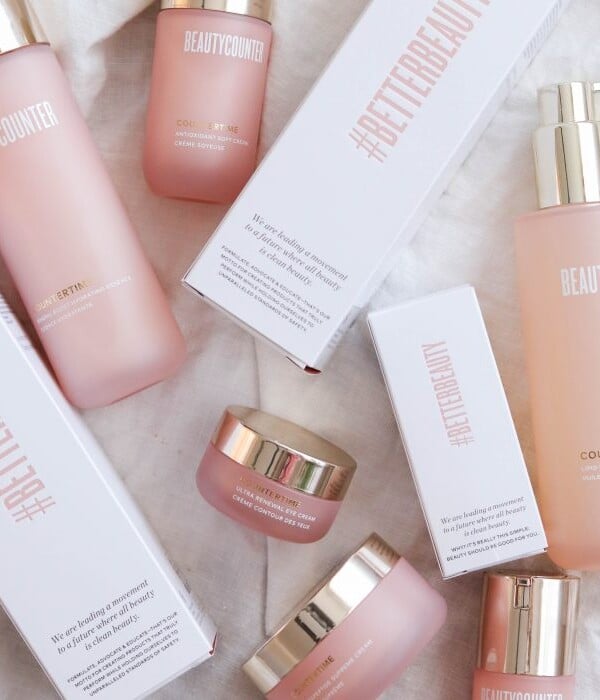
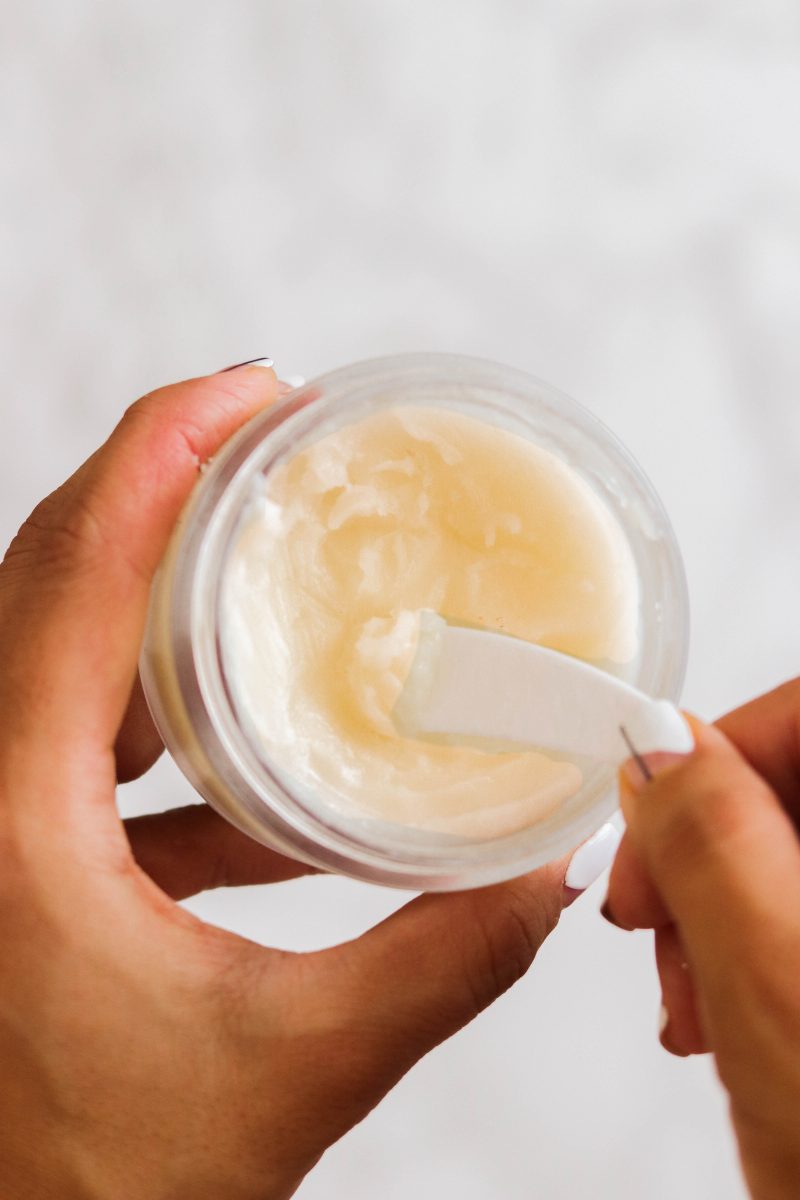
Beautycounter’s Cleansing Balm
A fantastic cleansing product suitable for most skin types is Beautycounter’s Counter+ Lotus Glow Cleansing Balm. Not only does it have clean and safe ingredients that are extremely effective, but it also contains vitamin C to improve and brighten your complexion, as well as raspberry and cranberry seed oils to moisturize and nourish. It is by far the best product I’ve used, and I even use it as a moisturizer at times because it’s so hydrating!
The Cleansing Balm also comes with a 100% muslin cloth, so you don’t have to purchase it separately, and you can even use the balm as an overnight treatment and wash it off in the morning. It always feels so luxurious when I use it.
Beautycounter’s Countertime Cleansing Oil
If you have dry and/or aging skin, Beautycounter’s Lipid Defense Cleansing Oil is a gentle and hydrating cleanser that leaves the skin’s natural oils intact while removing makeup and impurities. It’s rich in vitamin E and fatty acids, with potent anti-aging plant-derived ingredients called bakuchiol, which is MUCH safer than retinol with the safe benefits.
It’s my personal favorite product that leaves skin feeling hydrated and moisturized while still effectively cleaning it thoroughly.
Homemade Oil
I used to make my own oil cleanser, and it can be tricky to find the proper ratio that works well for your skin type. However, if you decide to go this route, there are several nourishing oils that are great for oil cleansing, and you may want to experiment with which ones work best for you.
How to Choose an Oil for Cleansing
Some options are coconut oil, castor oil, sweet almond oil, sunflower oil, jojoba oil, avocado oil, and olive oil. Castor oil is deeply cleansing, anti-inflammatory, and great as a base oil to start out with, but it can also be drying for your skin, so it works well in combination and oily skin.
- For Dry Skin: If your skin is on the dry side (like me), try to mix it with other oils like avocado or olive oil and find the right ratio, or just use another oil altogether. When I did make my own oils, I used to use 70% avocado and 30% castor oil but switched to 100% olive oil during the drier winter months.
- For Oily Skin: Jojoba oil and argan oil might be good options for oily, acne-prone skin. Again, I recommend a blend of one of these with castor oil for best results. It might take a bit to find your ratio, but it’s worth it!
- For the Beginner: When you first start out, I suggest the ratio of 50% castor oil and 50% olive or avocado oil, then, you can adjust it from there. Whatever oils you choose, make sure to use high-quality, organic oils because they really do make a difference in the effectiveness of oil cleansing.
- For Sensitive Skin: Castor oil might not be the best for you. I recommend testing a patch first with whichever oil you choose.
Again, if you aren’t seeing great results with homemade oil since it can be tricky to get right, I recommend trying out one of the 2 products I recommend above!
How to Make Your Own DIY Oil Cleanser Recipe
Ingredients
- castor oil
- olive oil or avocado oil (or other seed oils mentioned above)
- muslin washcloth
Directions
- Mix castor oil with olive oil or avocado oil in a 1:1 ratio.
- Oil cleanse following the tutorial below.
- If you feel that your skin feels oily after, add more castor oil to the ratio. If you feel that it’s too drying, add more olive or avocado oil.
How to Oil Cleanse Step-By-Step
WATCH A QUICK VIDEO OF HOW I USE THE OIL CLEANSING METHOD
And subscribe to my YouTube channel for more videos and other fun tutorials!
Materials Needed
- Beautycounter Cleansing Balm
OR
- A mixture of high-quality oils* (Start with 50/50 of castor oil to another type of oil like coconut, almond, sunflower, jojoba, avocado, argan oil, or olive oil).
- Clean muslin or cotton washcloth
*If this ratio is too drying, lower the ratio of castor oil. If it’s too moisturizing, increase the ratio of castor oil. I recommend using olive or avocado oil as the 2nd oil when first starting out.
Instructions
- Start out with a dry face. You don’t need to remove makeup beforehand, as oil cleansing will do that in the process. If you have sensitive skin, test it out on a small area first.
- Pour 1/2-1 teaspoon of oil (or an almond-sized amount for the Cleansing Balm) into the palm of your hand and massage it to your face for at least 1 minute. Concentrate on your problem areas (Cheeks, forehead, chin, etc.).
- Soak the washcloth under running water that is warm to hot (not too hot – you’ll be using it on your face), then wring it out.
- Place the warm washcloth on your face to let it steam and open up your pores so it can draw out impurities.
- Gently wipe away the oils, makeup, and dirt.
- Rinse your washcloth and hang it to dry for the next time.
There’s no need to moisturize after oil cleansing, but you may choose to do so if you feel like your skin needs it. I have dry skin, so I always finish with the Countertime Tetrapeptide Supreme Cream, which is so hydrating and nourishing with potent anti-aging ingredients.
Oil Cleansing FAQs
Depending on your skin, you can oil cleanse once a day every day or as little as 2-3/week. It’s really up to how your skin reacts to it and how much you are benefitting from it.
I personally find that oil cleansing cleans the skin MUCH better than micellar water. Micellar water isn’t effective for removing makeup and oils because it is water-based. Water and oil do not mix, and using an oil-based cleanser is what actually breaks down the oils on your skin.
In the face washing process, oil cleansing would replace the face wash or cleanser. You can moisturize after oil cleansing if you have dry skin. Some people don’t feel the need to moisturize afterward if their skin feels hydrated enough.
More Natural Living Guides
If you try this out, I’d love to hear your comments below! I love to hear your thoughts! Follow me on Instagram for more natural living content and recipes!

Step-By-Step Oil Cleansing Tutorial
Ingredients
- Beautycounter Cleansing Balm
- OR A mixture of high-quality oils* (Start with 50/50 of castor oil to another type of oil like, coconut, almond, sunflower, jojoba, avocado, or oilve oil)
- Clean muslin or cotton washcloth
Instructions
- Start out with a dry face. You don't need to remove makeup beforehand as oil cleansing will do that in the process. If you have sensitive skin, test out on a small area first.
- Take 1/2-1 tsp of your oil of choice (or an almond-sized amount for the Cleansing Balm) and massage on to your face for at least 1 minute. Concentrate on your problem areas.
- Soak the washcloth under running water that is warm to hot (not too hot – you'll be using it on your face), then wring it out.
- Place the washcloth on your face to let it steam and open up your pores, so it can draw out impurities.
- Gently wipe away the oils, makeup, and dirt.
- Rinse your washcloth and hang it to dry for the next time.
- There's no need to moisturize after oil cleansing, but you may choose to do so if you feel like your skin needs it. I have dry skin so I always finish with the Countertime Tetrapeptide Supreme Cream, which is so hydrating and nourishing with potent anti-aging ingredients.
Notes
Want Even More Radiant Skin?
You can use the Overnight Resurfacing Peel after oil cleansing for even better results that’ll help your skin tone even out, remove blemishes, and achieve that radiant glow. You can read all about my experience with in this blog post, along with my before-and-after photos from using it for a month!
If you want to learn more about safe and toxin free skin care and products, make sure to join my Safer Skincare newsletter for deals, discounts, video tutorials, and more education around why I choose safer skincare.
SIGN UP FOR THE SAFER SKINCARE NEWSLETTER.
Regarding other affiliate links and affiliate relationships: In order for me to support my blogging activities, I may receive monetary compensation or other types of remuneration for my endorsement, recommendation, testimonial and/or link to any products or services from this blog. Thank you for your support and understanding.