This post may contain affiliate links. Please see our disclosure policy.

Store bought scented candles are often harmful for our environment and our health. Find out why I don’t buy scented candles, and how to make beeswax candles at home!
I’ve been making my own candles for several years now and I love this therapeutic process, as well as being able to control the ingredients that go into each one. I have always loved scented candles as much as any basic gal and the pleasant smells they can fill the house with. However, it was just a few years ago when I learned about how harmful they can be.
It’s important to realize that when we burn candles, the materials that make them are released into the air and we breathe in that air. If there are harmful ingredients in the candle or even the wick, there’s no doubt that we inhale the toxins which can negatively impact our health and the environment. Here are a few reasons why I don’t buy scented candles and how to make beeswax candles at home:
Why I Don’t Buy Scented Candles
Wicks containing heavy metals. You would think that candle wicks are just cotton, but especially with older candles, heavy metals like lead are added to firm up and make the wicks burn longer. It’s crazy to me that they would allow us to burn lead in our homes, which is a huge contributor to indoor air pollution and health problems. Adding heavy metals to candles have been banned in 2003, but there are still many candles out there with toxic wicks, especially when you see metal wires in them.
Candles made with paraffin. Most scented candles are made with paraffin wax, which is a petroleum byproduct and a known carcinogen when burned. Benzene and toluene are the two main chemicals that are released from burning paraffin wax, and these are known to cause respiratory problems, lung cancer, and even cause damage to the central nervous systems.
Use of synthetic oils, dyes, and scents. Various chemicals and additives are added to candles to make them slow burning, give them a bright color, and add a strong scent. These also release toxic fumes that are also found in varnish removers, paint, and lacquer. I would rather avoid them altogether instead of risking the damages they can cause, especially if you have small children or pets around.
Soot particles cause further damage. Not only are standard chemicals harmful to our health while burning, they also leave behind black soot particles on furniture, walls, floors, or any other nearby surfaces. These small particles can get trapped in our lungs when we breathe them in and be a major cause of respiratory problems, much like smoking cigarettes.
Making candles at home is easy! While it may seem complicated, the process is actually quite simple and fun, and it’s a much healthier and cheaper way to enjoy burning candles at home.
Making Candles At Home
While you can make soy candles, I like to avoid them because soy is genetically modified most of the time. My first choice when it comes to wax is beeswax because it’s slow-burning naturally and completely safe.
Beeswax is also known as nature’s air purifier because it releases negative ions when burned. Any kind of air contaminants like dirt, pollen, and pollutants carry positive ions. When negative ions from the beeswax meet the positive ions in the air contaminants, they are neutralized and this purifies the air naturally. Such a cool process!
When making beeswax candles, make sure the beeswax pellets you buy states “100% Pure Beeswax” on the label. Otherwise, if the word “pure” is used without the percentage, they are most likely mixed with paraffin wax.
Also, since beeswax is naturally slow-burning, it’s important to buy medium candle wicks which are sturdier and slower to burn out. Make sure to buy wicks that are 100% cotton to avoid burning any metals into the air.
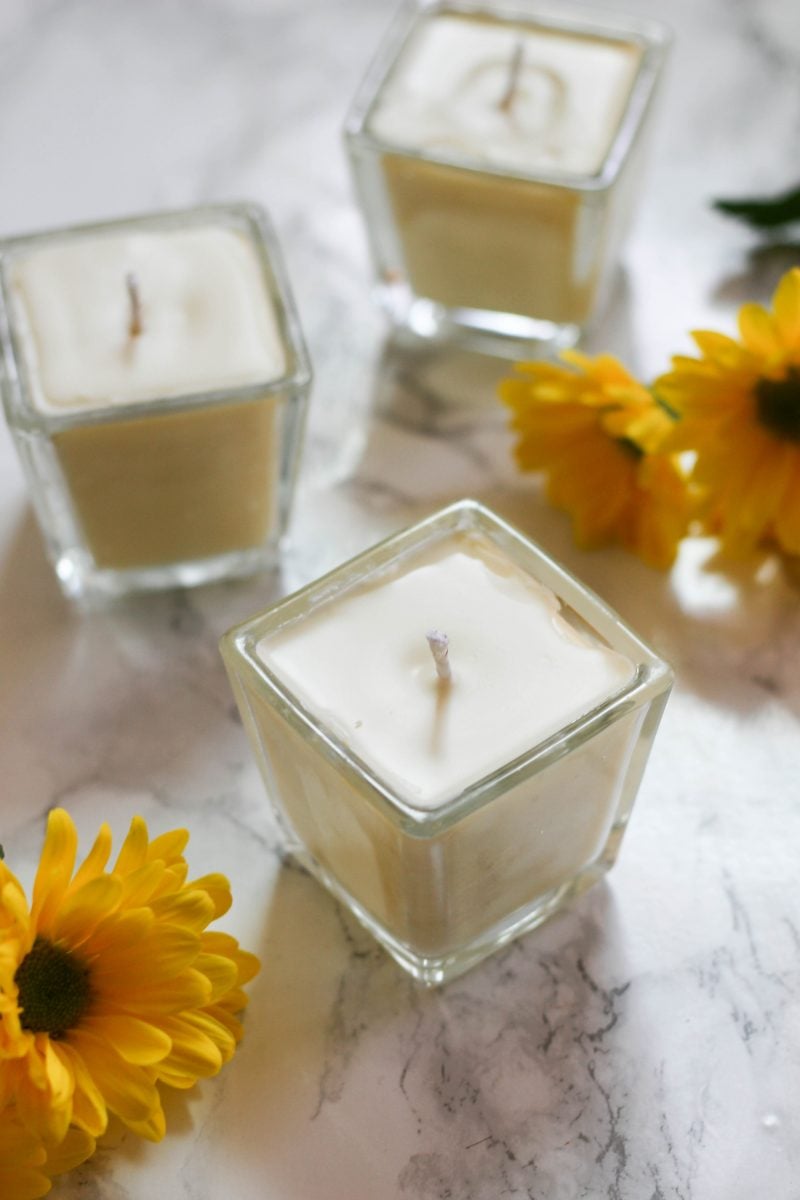
Once you have the equipments, the process is a breeze. Here’s how you can make beeswax candles at home that are safe, healthy, and smell like heaven!
How to Make Beeswax Candles
Ingredients
- 2 12-oz jars OR 3 8-oz glass jars OR 6 4oz jars Use glass or ceramic jars
- Medium cotton candle wicks with tabs attached
- Wick stickers
- Masking tape
- 1 lb beeswax pellets
- 1/3 cup coconut oil
- 2 oz essential oils for scented
Instructions
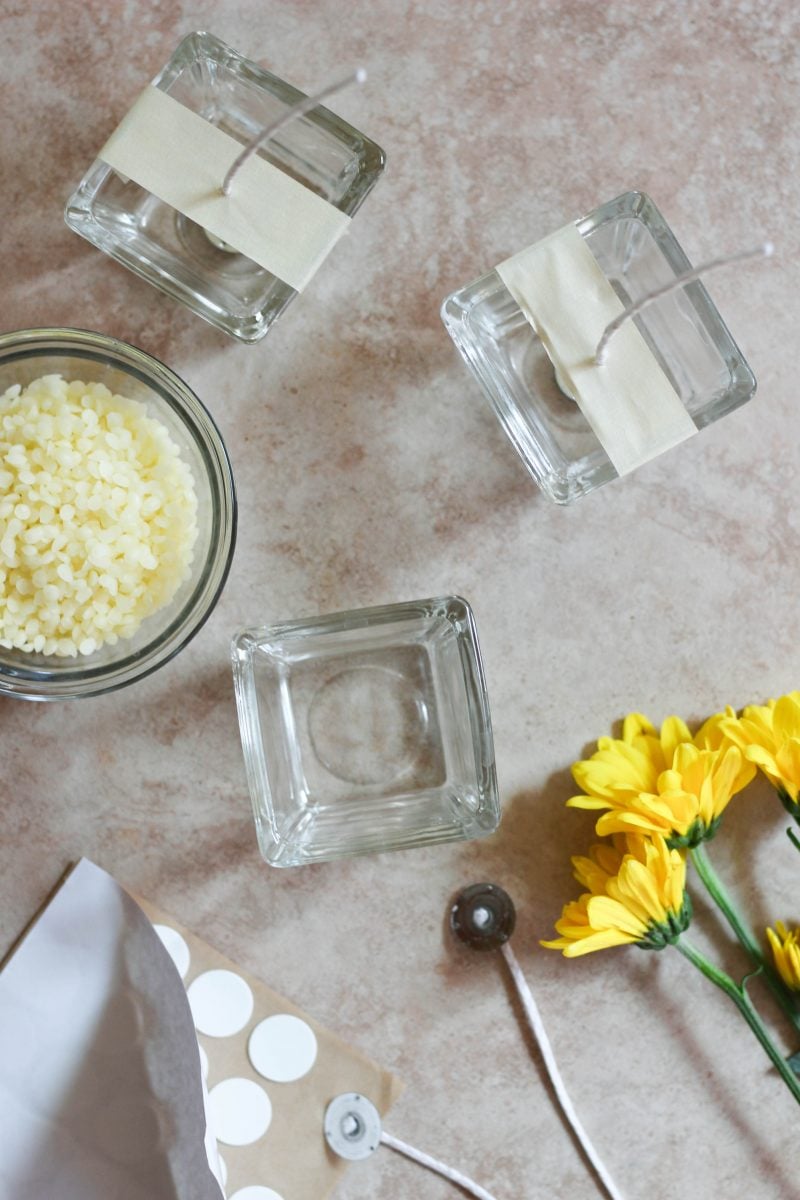
- Before you begin, stick one side of the wick sticker on the bottom of the tab of the wick. Stick the other side of the sticker to the bottom center of the jars.
- Cut a small hole or slit in the center of a strip of masking tape that’s longer than the width of the jars. Thread the wick through the hole and stick the tape across the opening of the jar, so the wick is centered in the middle of the jar. Repeat this with the remaining jars.
- In a double boiler, or a heat-safe bowl nestled on top of a pot of simmering water over low heat, combine beeswax pellets and coconut oil.
- Heat until completely melted, about 30 minutes.
- Turn off heat and add essential oils, if using. Stir together to combine (I used a popsicle stick so I can throw it out afterwards).
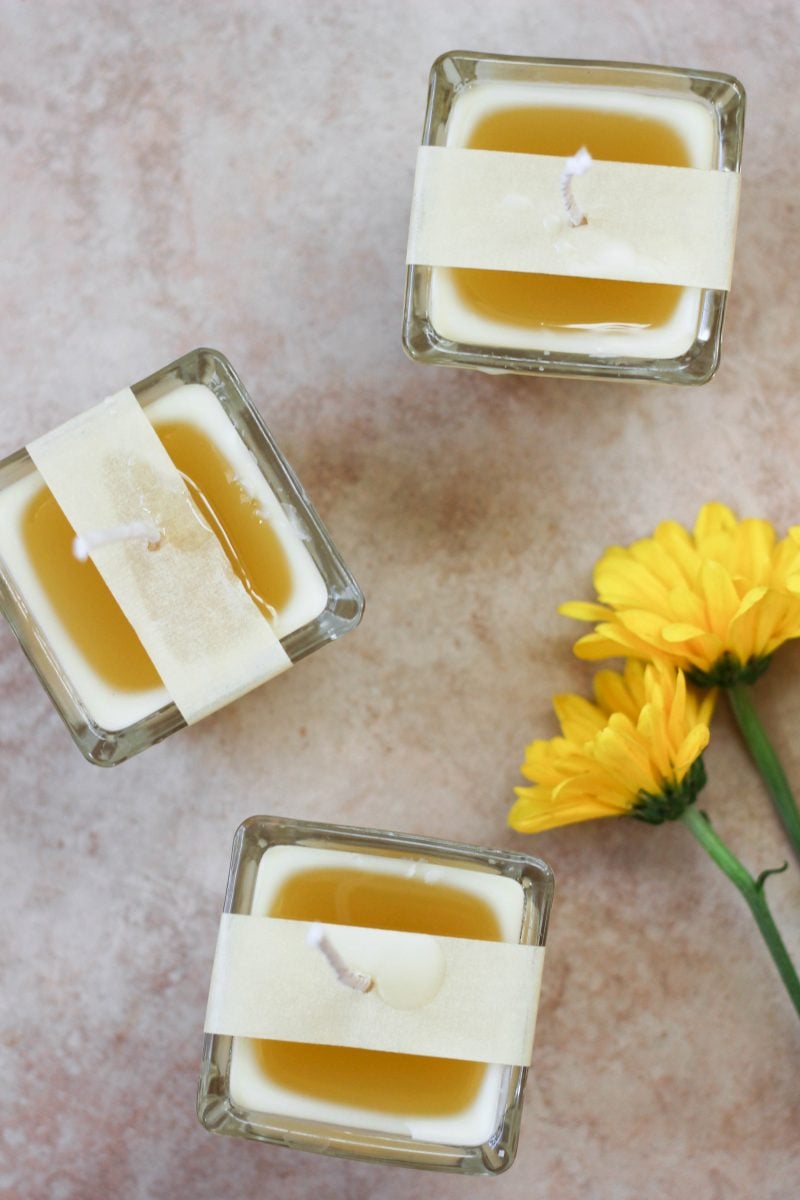
- Pour the wax into the prepared jars.
- Let cool for at least 12 hours.
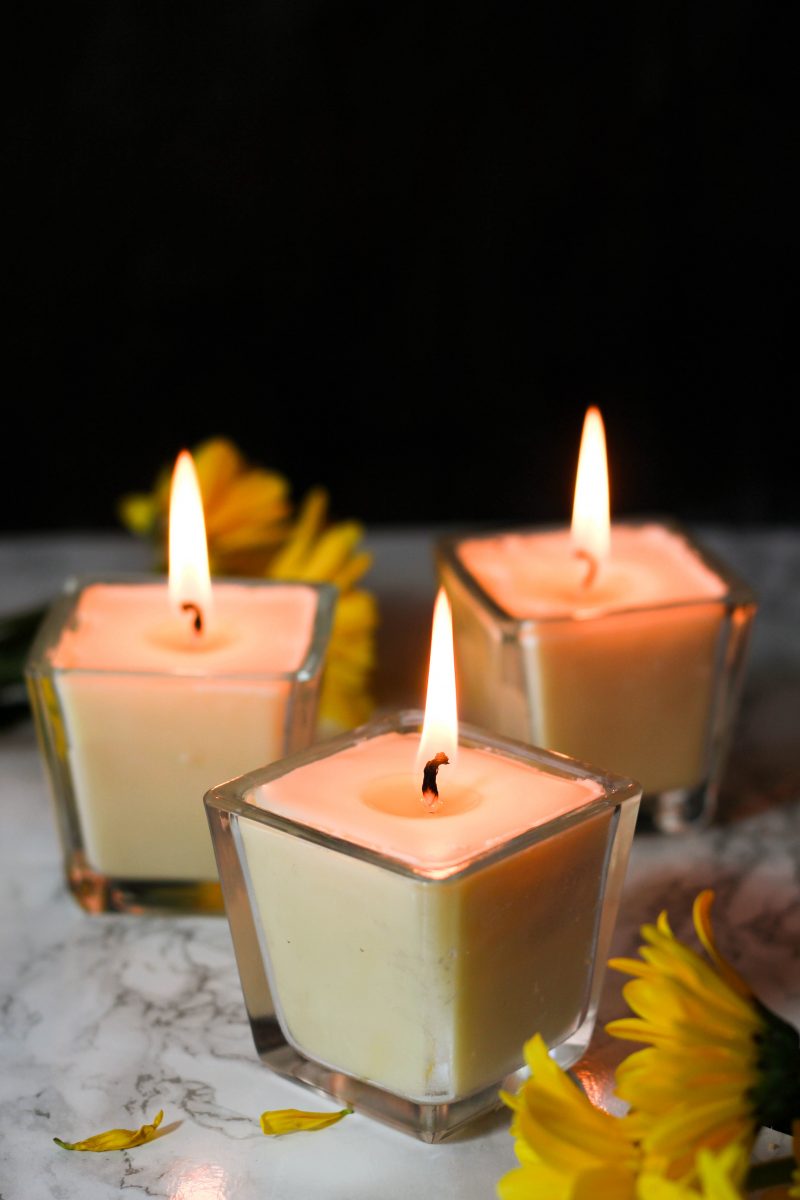
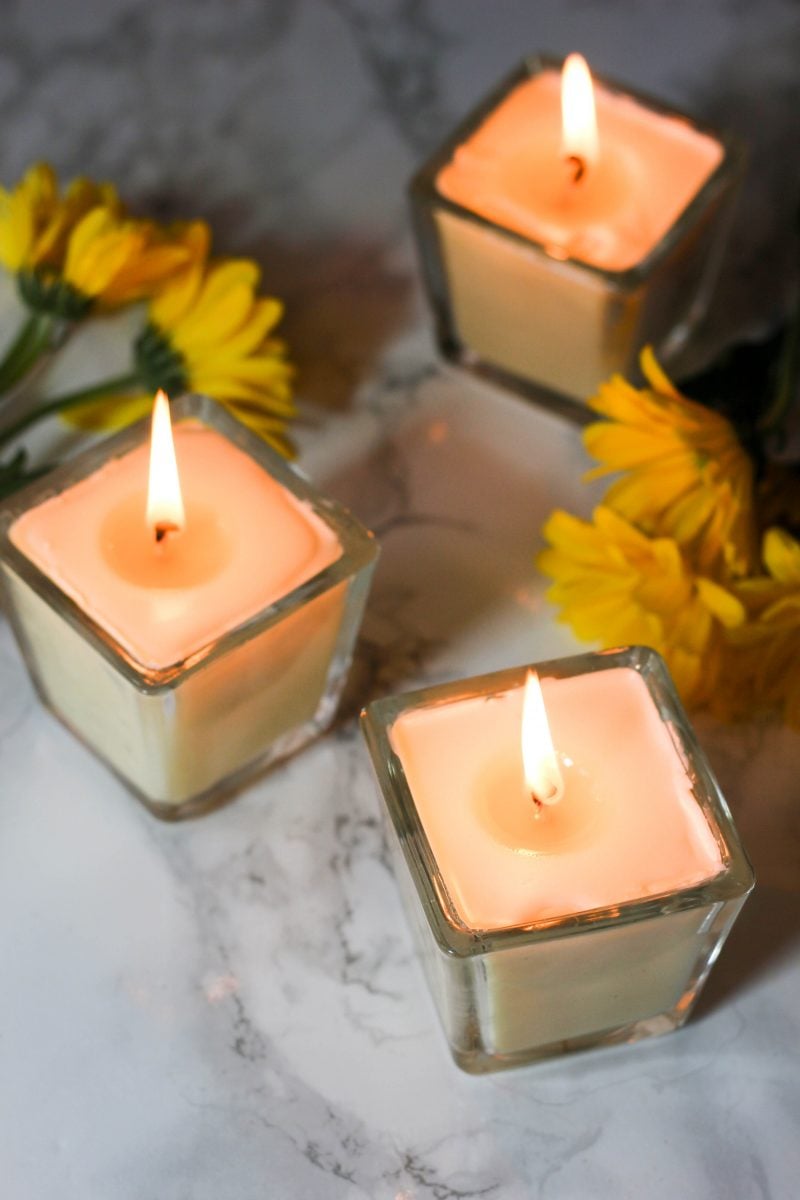
- Cut the wicks to about 1/2 inch and remove the masking tapes.
- Light and enjoy!
Regarding other affiliate links and affiliate relationships: In order for me to support my blogging activities, I may receive monetary compensation or other types of remuneration for my endorsement, recommendation, testimonial and/or link to any products or services from this blog. Thank you for your support and understanding.