This post may contain affiliate links. Please see our disclosure policy.
Add as Google preferred source
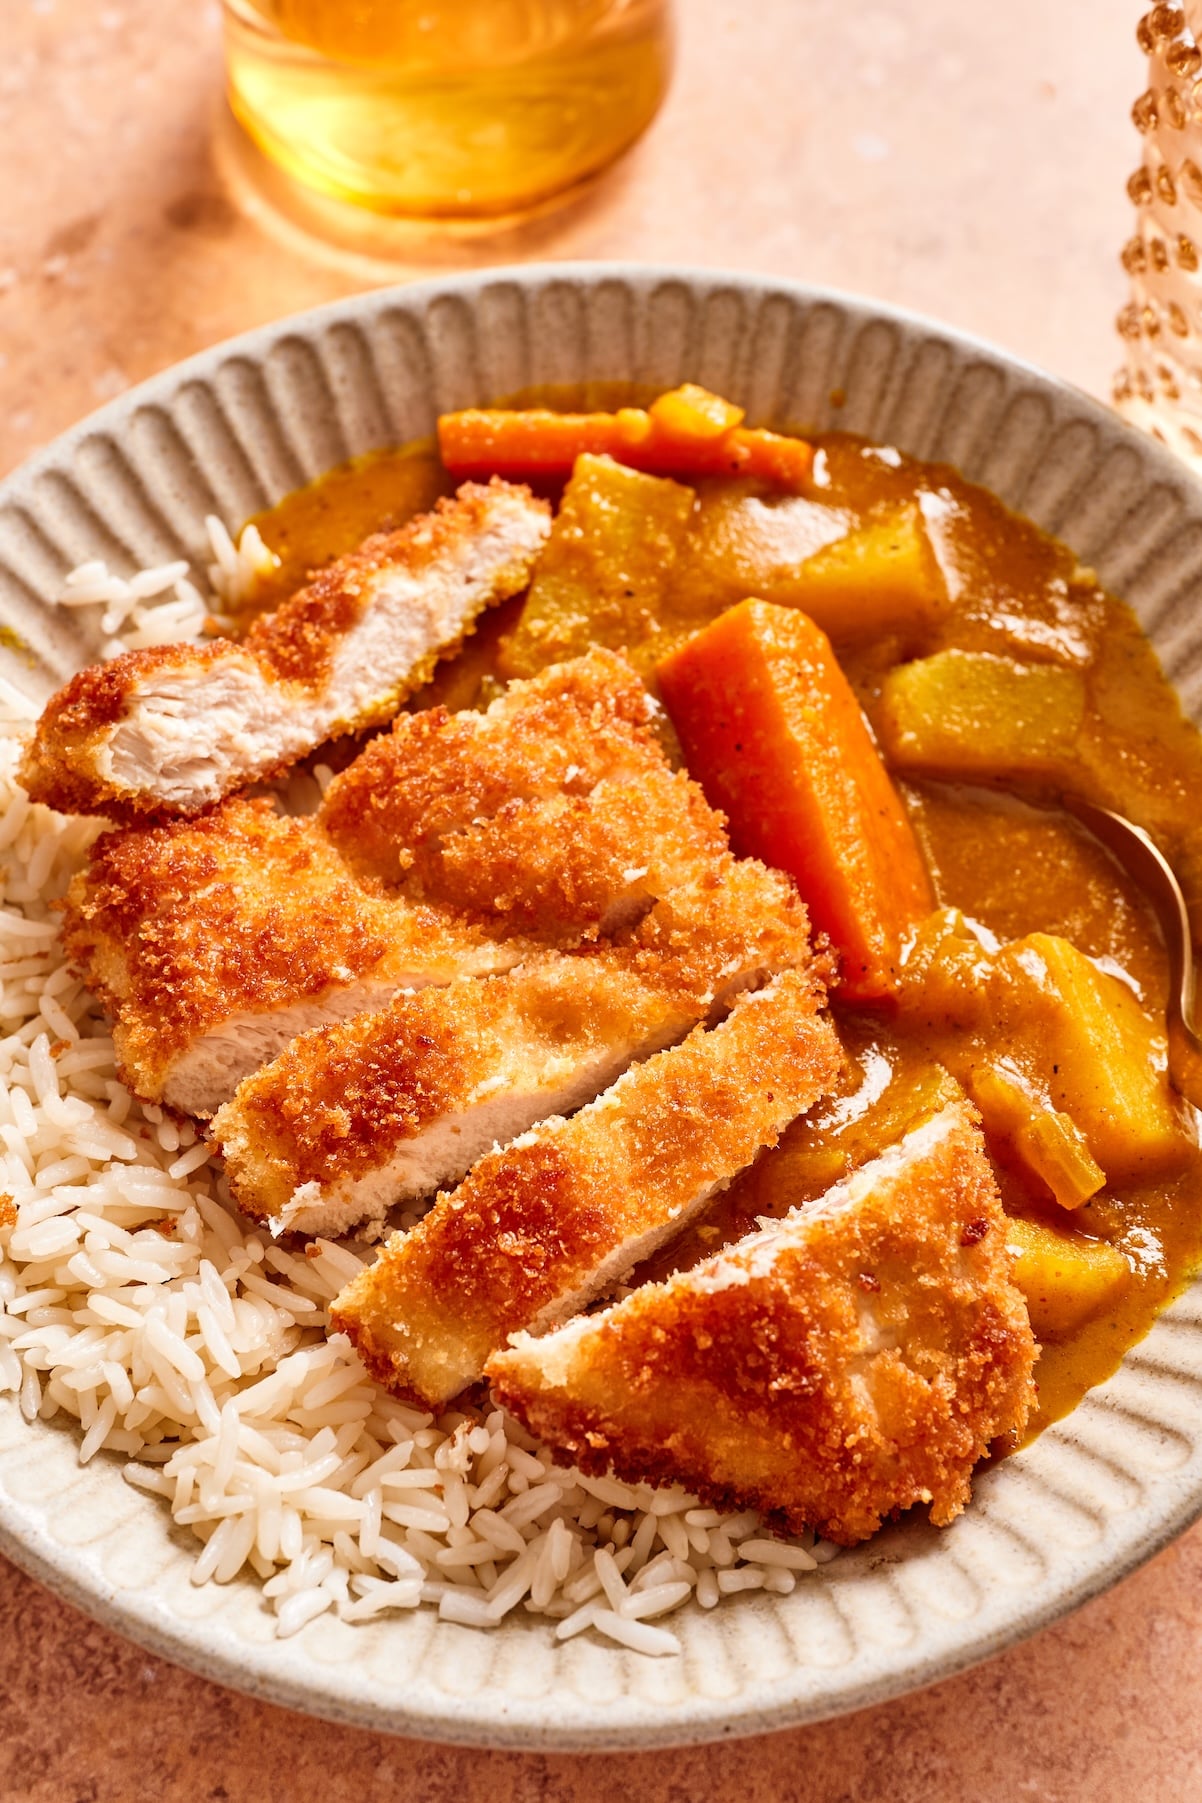
I grew up eating katsu curry when my mom needed something quick and easy, and to this day, it’s one of my favorite comfort meals. For my chicken katsu curry, crispy panko cutlets are sliced over warm rice with a medium-spicy Japanese curry with potatoes and carrots right alongside. The sauce is just curry powder, a blended apple, and soy sauce. It’s easy to make gluten-free, too!
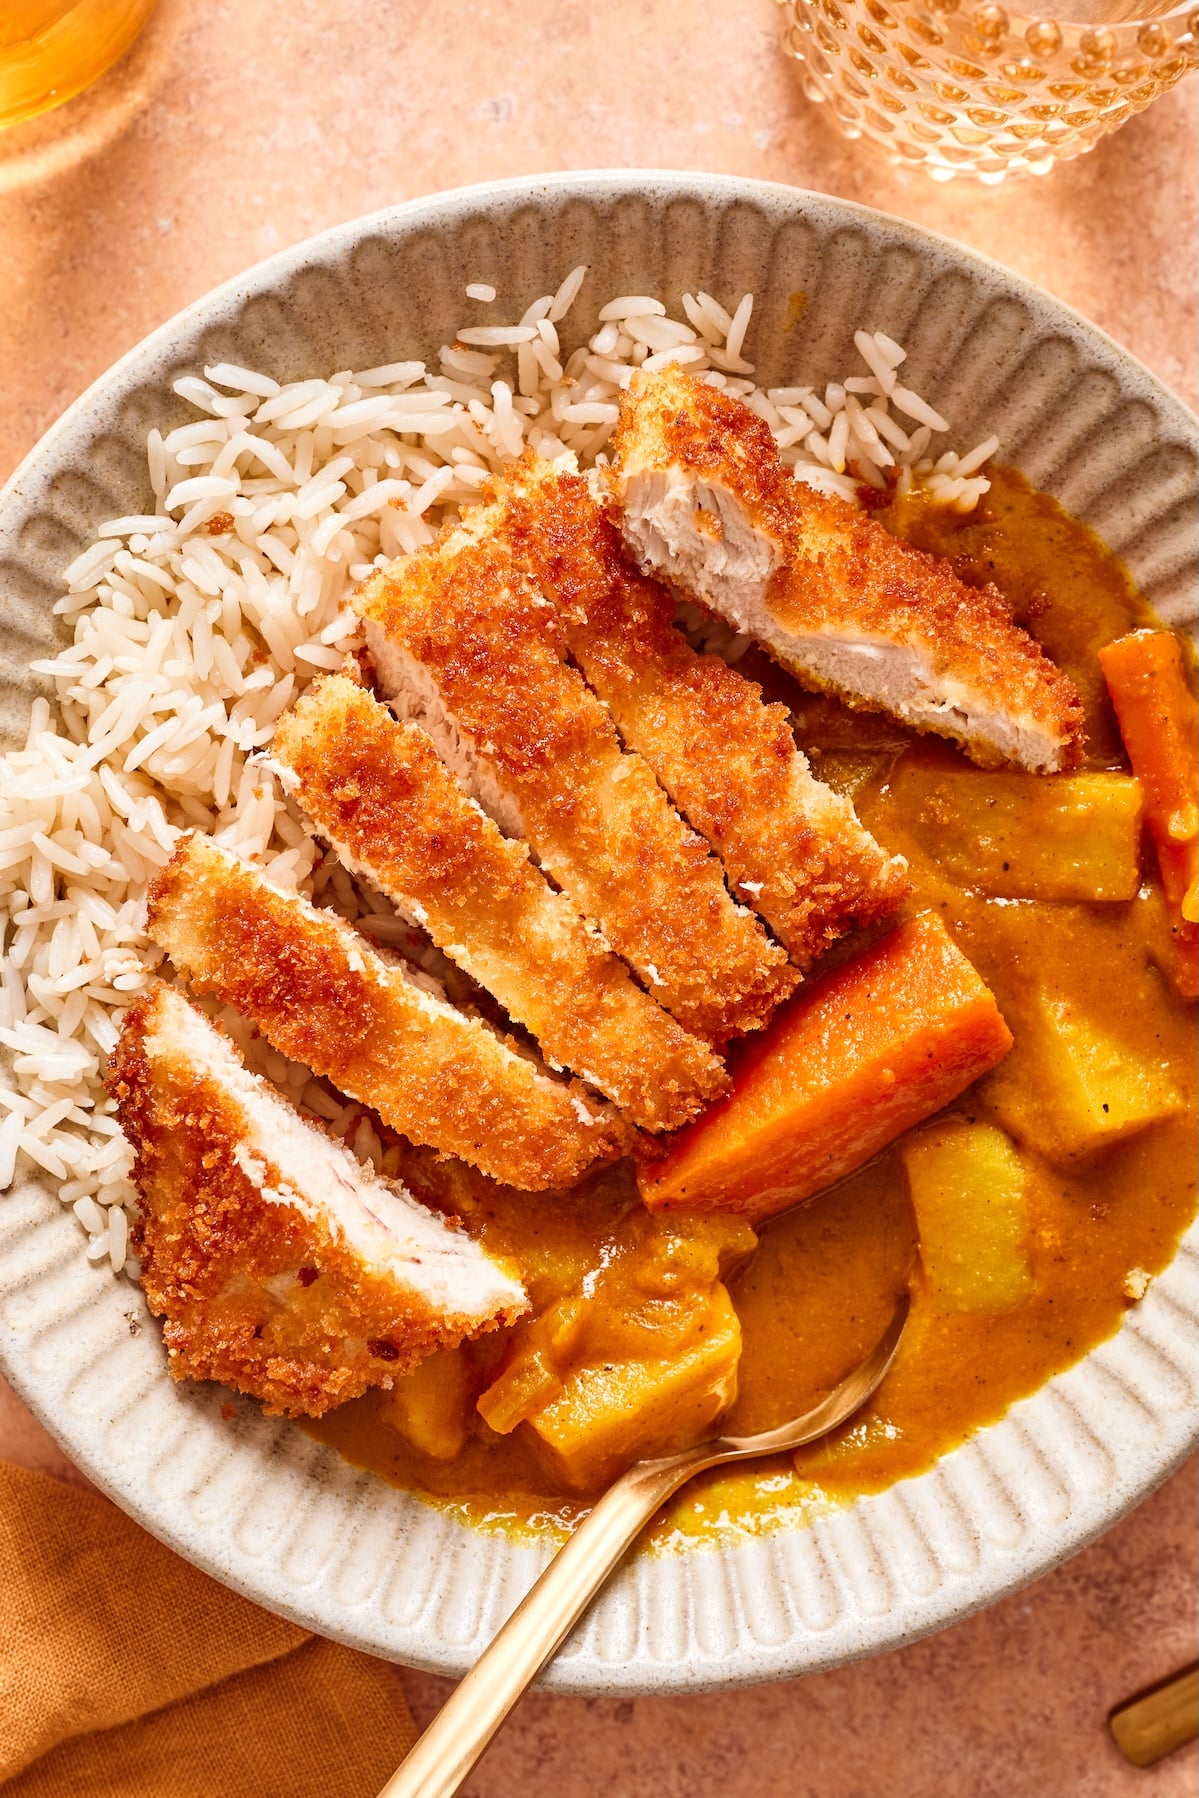
Homemade Chicken Katsu Curry
Katsu curry is usually made with store-bought curry sauce (that’s the version I grew up on). But it’s actually so easy to make a homemade version. You blend all the sauce ingredients together, then simmer the sauce with the vegetables while you fry the chicken. No roux blocks required.
These days I make it for my own kids, with a little less curry powder so it’s milder for them. If you’ve made my Japanese curry before, the sauce will feel familiar. In this version, it’s served with a crispy cutlet on top instead of chicken simmered in the pot. Plan on about 55 minutes start to finish, making it easy enough to bring classic Asian cooking right into your own kitchen!
Ingredient Notes
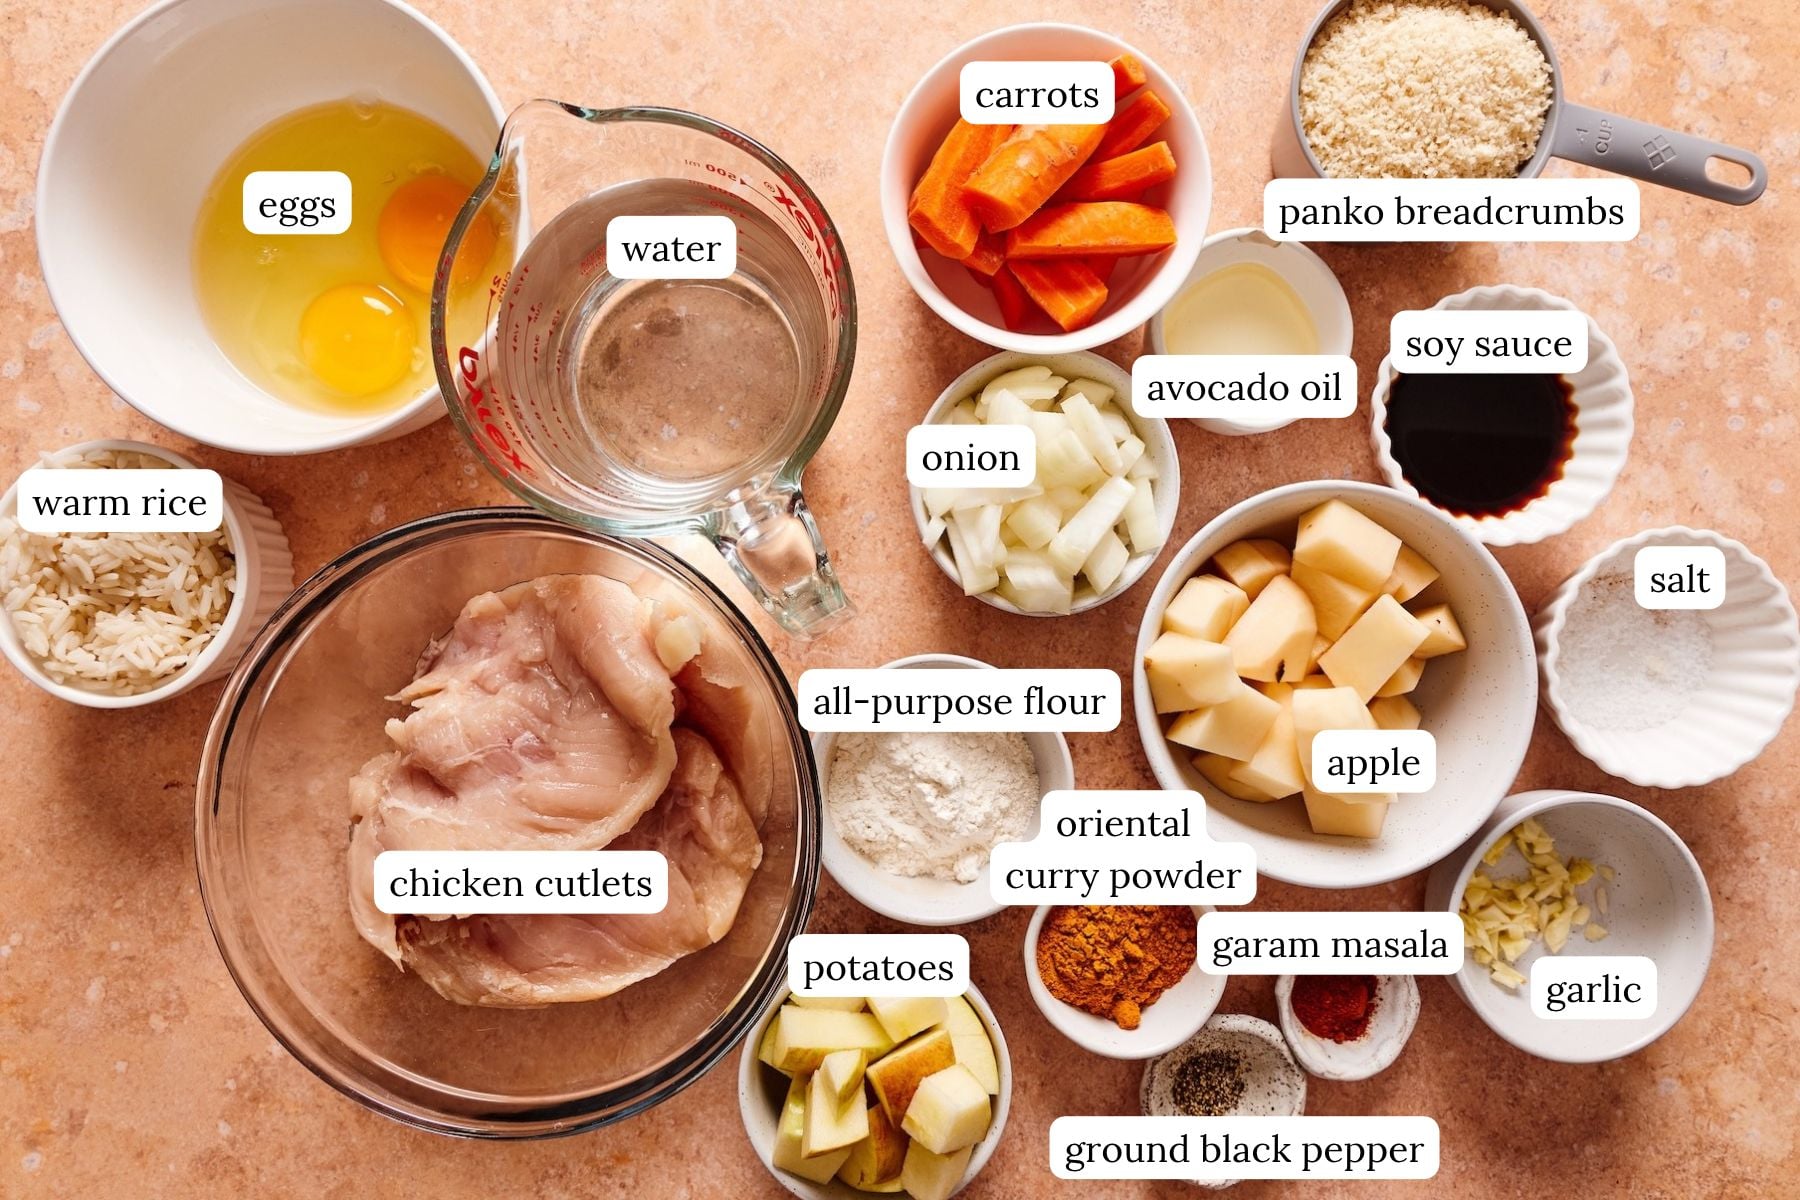
- Chicken breasts or cutlets. Two large chicken breasts or four chicken cutlets both work. If your store sells cutlets, grab them and skip the slicing. Easy peasy. This version is chicken, but if pork is more your thing, I also have an air fryer pork tonkatsu with homemade tonkatsu sauce.
- Oriental curry powder. I highly recommend oriental curry powder for the most authentic flavor, but regular curry powder will work in a pinch. As written, 2 tablespoons makes the curry medium-spicy. When I’m cooking for my kids, I drop it to 1 tablespoon. And if you like it spicy, go ahead and add more.
- Apple. The traditional method grates the apple into the sauce. I cut it into chunks and blend it with everything else instead. After making this curry multiple times, I don’t find any difference in the sauce texture between grating and blending, and blending is just easier. The apple is what gives the curry that little bit of sweetness. Have an Asian pear instead? It works in my Japanese curry, so I don’t see why it wouldn’t here (I just haven’t tried it in this one yet).
Gluten-Free Option
I’m mostly gluten-free, so here’s how I make it. Gluten-free flour (you need it for both the sauce and the coating), tamari instead of soy sauce, and gluten-free panko. That’s it.
For the panko, I highly recommend Kikkoman’s gluten-free panko-style coating. It’s light and crisps up beautifully. Double check your curry powder label too. Boxed curry roux usually has wheat flour in it, which is one more reason I just make the sauce myself.
How to Make Chicken Katsu Curry
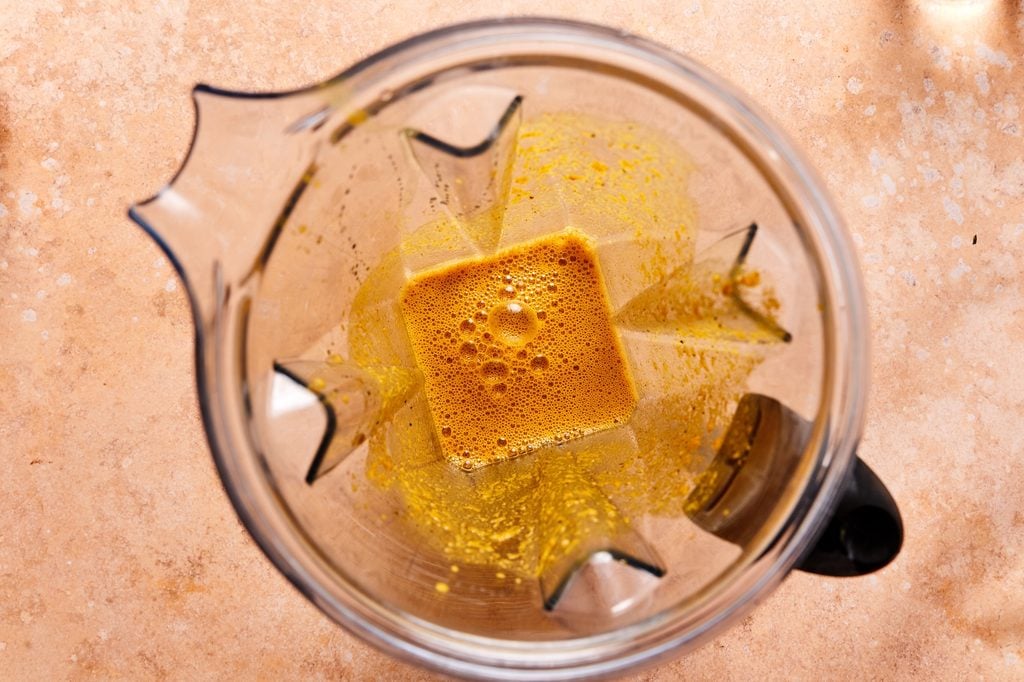
Step 1: Blend the curry sauce until it’s completely smooth and you can’t see any chunks of apple. Blending the flour in now means you won’t get lumps in the curry later.
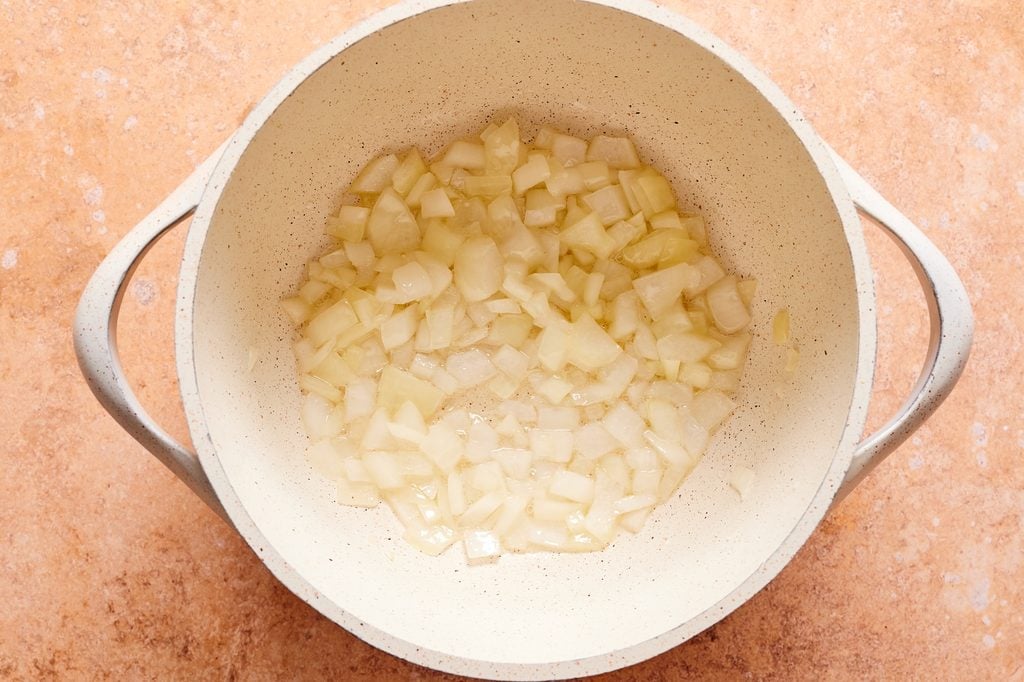
Step 2: Add the onions to the pot and sauté until tender and translucent.
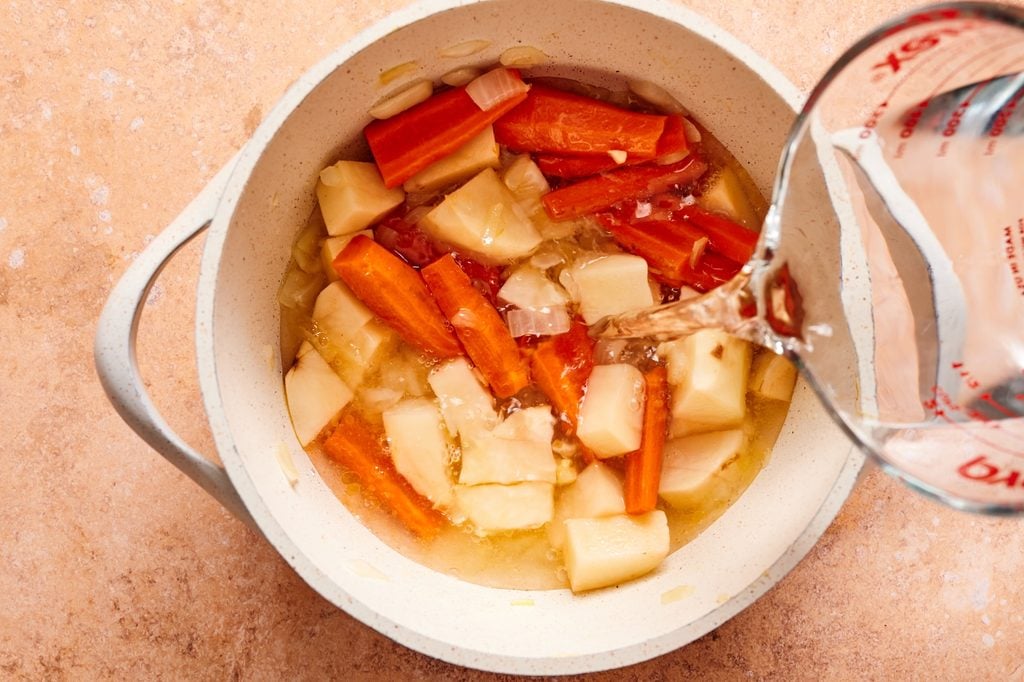
Step 3: Once the onion softens, add the potatoes, carrots, and garlic and pour in the water. Put the lid on and simmer for 10 minutes before you add the sauce. Don’t skip this part. The potatoes only get another 15 to 20 minutes after you add the sauce, and nobody wants a crunchy potato in their curry.
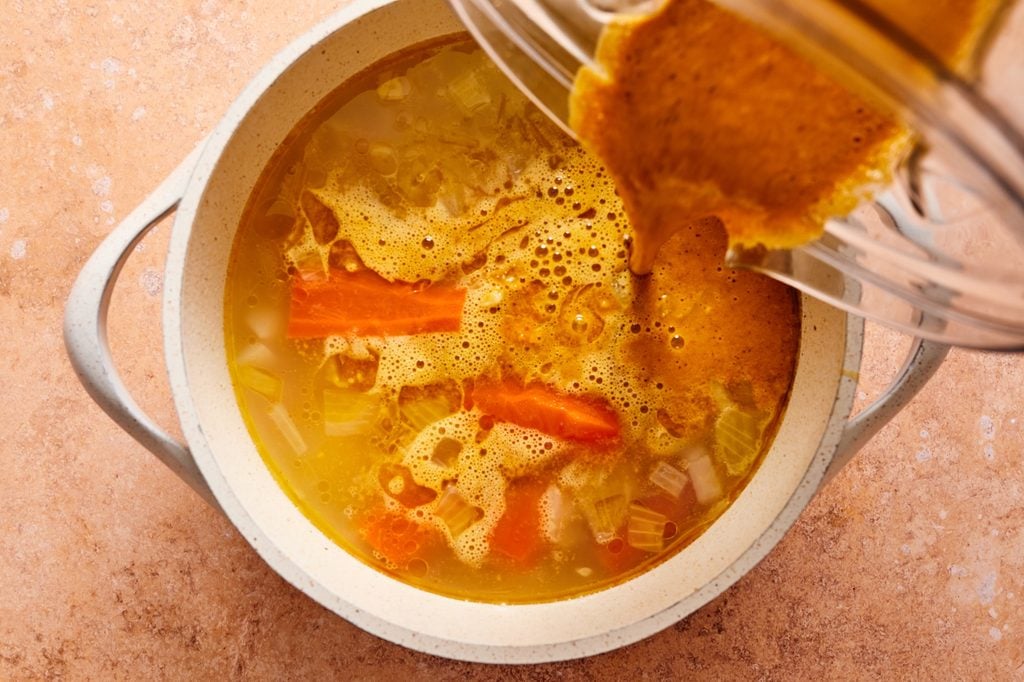
Step 4: Stir in the blended sauce and simmer it uncovered until it’s as thick as you like. Then taste it. Add a little more soy sauce or salt if it needs more seasoning, or a little honey or sugar if you want it sweeter.
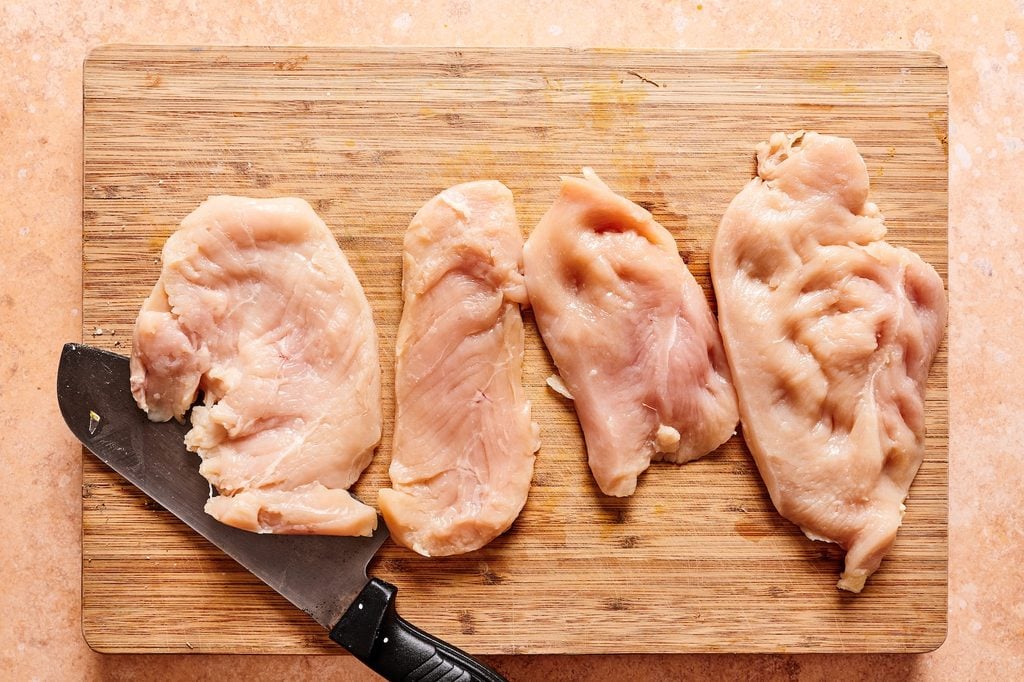
Step 5: Slice each chicken breast in half horizontally into two thin layers. If one end is thicker, give it a few whacks so it’s even. That way, all four cutlets are done in the same 3 minutes per side.
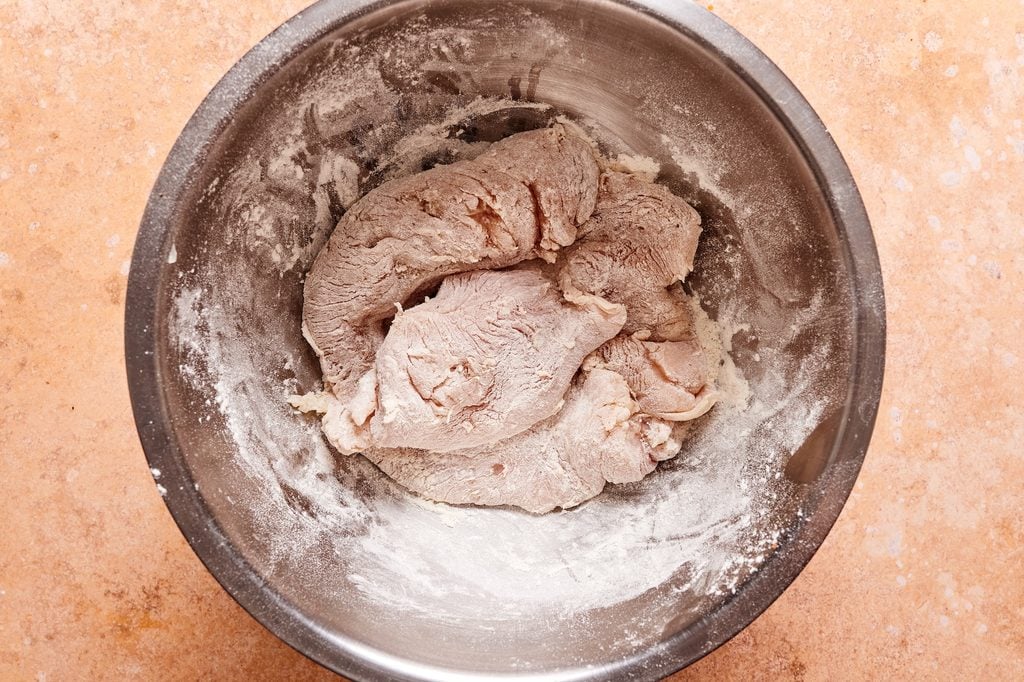
Step 6: Toss the chicken in the seasoned flour first.
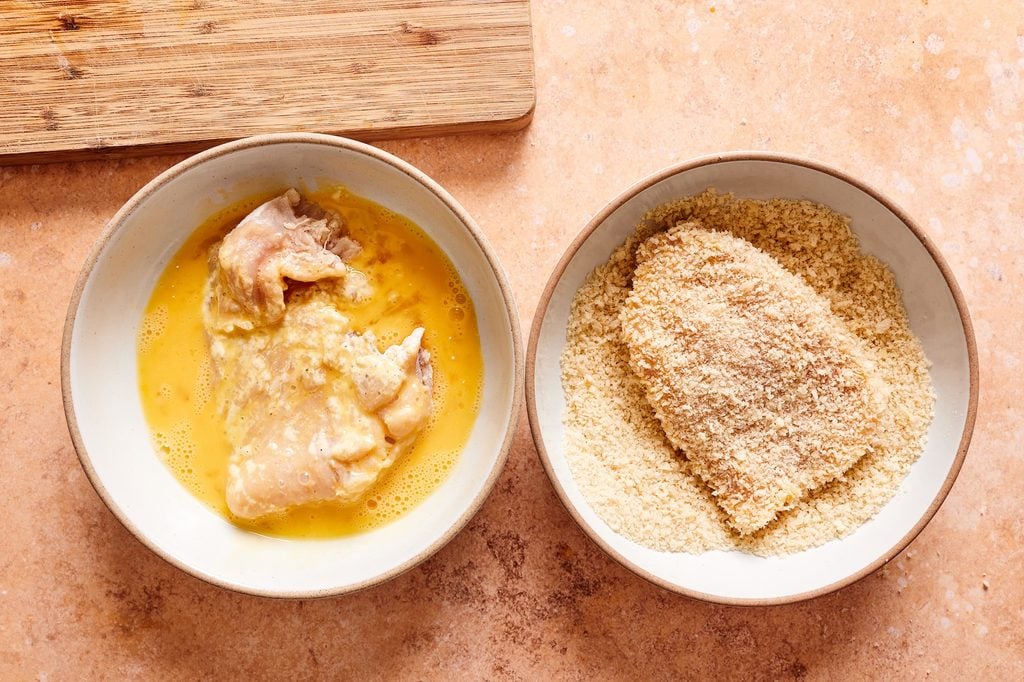
Step 7: Then, dip it in the egg and press it into the panko. Really press it in. Too quick a dip is how you end up with half your crust floating around in the oil.
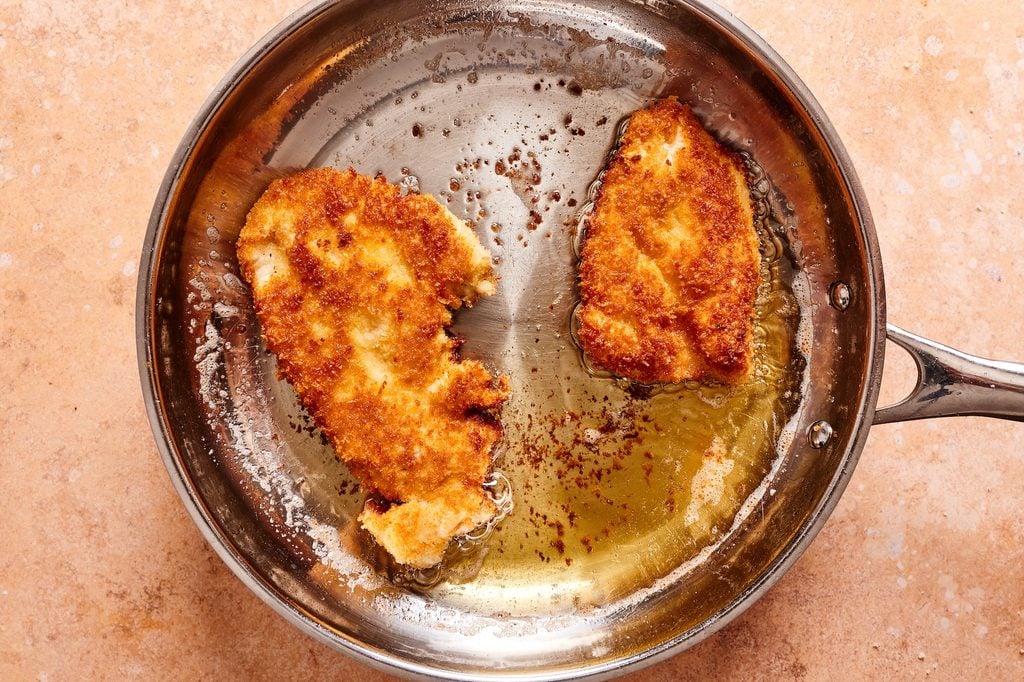
Step 8: Fry the cutlets in about ½ inch of oil for 3 minutes per side, until both sides are golden brown and the thickest part reads 165°F. If the crust gets dark before the chicken is done, turn the heat down a notch.
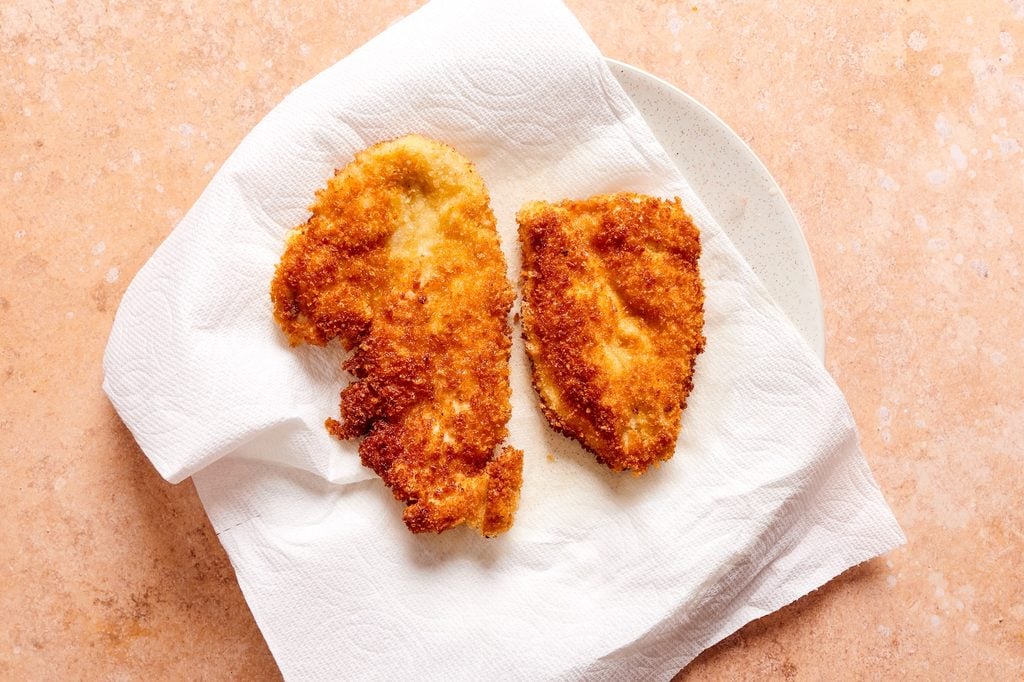
Step 9: Transfer the chicken to a plate lined with paper towels. This will absorb any excess oil and minimize greasy chicken.
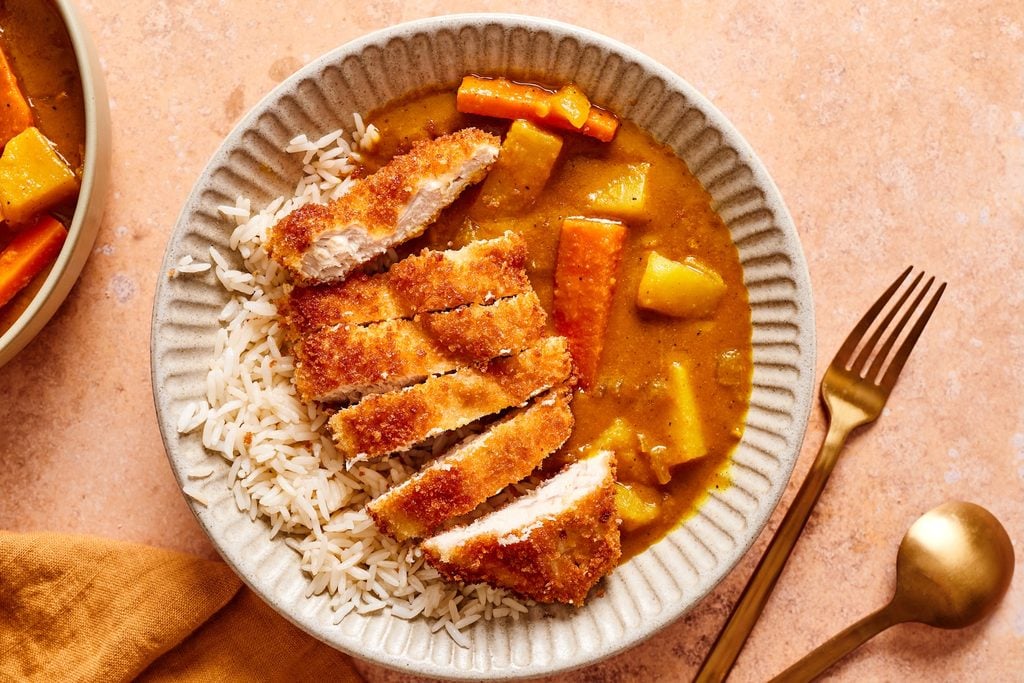
Step 10: Slice the katsu, spoon the curry next to the rice, and lay the chicken on top. I keep most of the curry next to the cutlet instead of on top. That way the crust stays crunchy right up to the last bite.
How to Serve
Honestly, all you need with this is a big scoop of warm short-grain rice. Want something fresh on the side? My crunchy no-mayo Asian coleslaw with toasted cashews goes really well with all that rich curry. Enjoy!
Keeping the Katsu Crispy
Cutlets done before the curry? Keep them in the oven at 250°F or up to an hour.
If you have leftovers, store the chicken and the curry sauce SEPARATELY. If you store them together, the panko soaks up the sauce overnight and you lose the crunch. No bueno.
To reheat, warm the sauce on the stovetop or in the microwave. Reheat the chicken in the air fryer or the oven (never the microwave), so the panko gets crispy again. Reheating times are in the recipe card below.
More Asian Comfort Food

30 Minutes or Less
Crispy Air Fryer Karaage (Japanese Fried Chicken)
Air Fryer
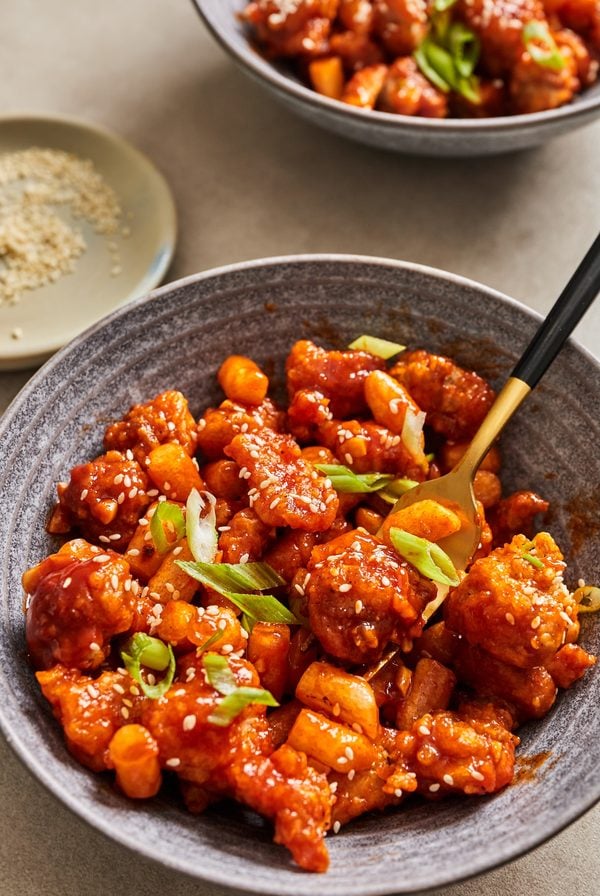
Air Fryer Dakgangjeong with Rice Cakes (Korean Popcorn Chicken)


If you make this recipe, please leave me a star rating and comment below! I love to hear your thoughts and feedback. Follow me on social media Instagram, Facebook, and Pinterest for even more delicious recipes!
Chicken Katsu Curry with Homemade Curry Sauce
Ingredients
- 1 tbsp avocado oil, or any neutral flavored oil
- 1 onion, diced
- ½ lb potatoes, peeled and cubed
- 2 carrots, cut into 2 inch pieces
- 3 garlic cloves, minced
- 2 cups water
- Warm rice, to serve
Curry Sauce
- 1 cup water
- 3 tbsp all-purpose flour, regular or gluten free
- 2 tbsp oriental curry powder, or regular curry powder, add more if you like spicy
- 1 tsp garam masala
- 3 tbsp soy sauce, or tamari
- 1 apple, cored and cut into chunks
- ½ tsp ground black pepper
Crispy Chicken Cutlets
- 2 large chicken breasts, or 4 chicken cutlets
- ¼ cup all-purpose flour, regular or gluten free
- Salt and pepper, to taste
- 2 eggs, beaten
- 1 cup panko breadcrumbs, I used gluten free
- Avocado oil, or any neutral flavored oil for frying
Instructions
- Combine all ingredients for the curry sauce in a blender and blend until smooth. Set aside.1 cup water, 3 tbsp all-purpose flour, 2 tbsp oriental curry powder, 1 tsp garam masala, 3 tbsp soy sauce, 1 apple, ½ tsp ground black pepper
- Heat avocado oil in a large saucepan or Dutch oven over medium high heat. Add onion and cook stirring for about 4-5 minutes until translucent.1 tbsp avocado oil, 1 onion
- Add potatoes, carrots, and garlic, and stir together for 1 minute.½ lb potatoes, 2 carrots, 3 garlic cloves
- Pour in water and bring to a boil. Reduce to simmer, then cover for 10 minutes.2 cups water
- Uncover, and stir in the prepared curry sauce. Simmer uncovered for 15-20 minutes until slightly reduced and thickened to your liking. Stir occasionally. Make the chicken cutlets while this simmers.
- If you are using chicken breasts and not chicken cutlets, prepare the chicken by halving the breasts into two thin layers. Pound each layer if they are uneven.2 large chicken breasts
- Toss the chicken with flour, a generous amount of salt, and pepper, until coated evenly.¼ cup all-purpose flour, Salt and pepper
- Set up an assembly line of 2 bowls, each with beaten egg and breadcrumbs. Working one at a time, dip each cutlet into the egg wash on both sides, then dredge in panko. Press to coat.2 eggs, 1 cup panko breadcrumbs
- Heat about ½ inch of oil in a large skillet over medium high heat. Fry each cutlet for 3 minutes per side until both sides are golden brown and the chicken is cooked through. Lower the heat if the chicken browns too much. Work in batches so you don’t crowd the pan. Add more oil as you work, if needed.Avocado oil
- Transfer the fried chicken to a large plate lined with paper towels. You can place the cooked chicken in a 250 degree F oven for up to 1 hour before serving to keep warm.
- Once the curry is done, taste to add more soy sauce or salt, or you can add some honey or sugar if you want it sweeter.
- Cut the chicken into slices. Pour the curry sauce next to some warm rice, and top with chicken. Enjoy!Warm rice
Notes
- Spice level: 2 tbsp curry powder makes it medium-spicy. Use 1 tbsp for a milder curry, or add more for extra heat.
- Gluten free: Use gluten free flour in the sauce and the coating, tamari, gluten free panko, and a curry powder labeled gluten free.
- Doneness: The thickest part of each cutlet should read 165°F on an instant-read thermometer.
- Storage: Store the chicken and the curry sauce separately in airtight containers in the fridge for up to 4 days. Each can also be frozen for up to 3 months.
- Reheating: Reheat the chicken in the air fryer at 375°F for 6 to 8 minutes, or in a 375°F oven for 12 to 15 minutes. Reheat the curry sauce in the microwave or on the stovetop.
Nutrition
Nutrition information is automatically calculated, so should only be used as an approximation.