
This post may contain affiliate links. Please see our disclosure policy.


Why You’ll Love This Recipe
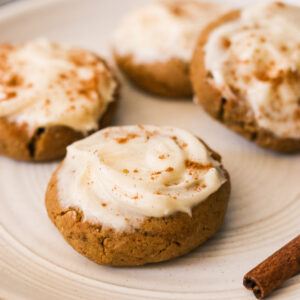
When fall baking season rolls around, I always crave something pumpkin, and these gluten free pumpkin cookies are a step above the rest! The browned butter gives them a nutty depth, the pumpkin puree keeps them moist, and the pumpkin pie spice ties it all together in the warmest way. Once you top them with cream cheese frosting, you get that perfect balance of sweet, spiced, and tangy.
I’ve tested these cookies more than once (my kids happily volunteered as taste testers), and I can promise they’re both kid-approved and holiday-worthy. Unlike many gluten free pumpkin cookie recipes that turn out cakey, these stay soft and chewy with just the right amount of tenderness. Even better, they freeze so well – so you can make a batch now and enjoy pumpkin cookies all season long!
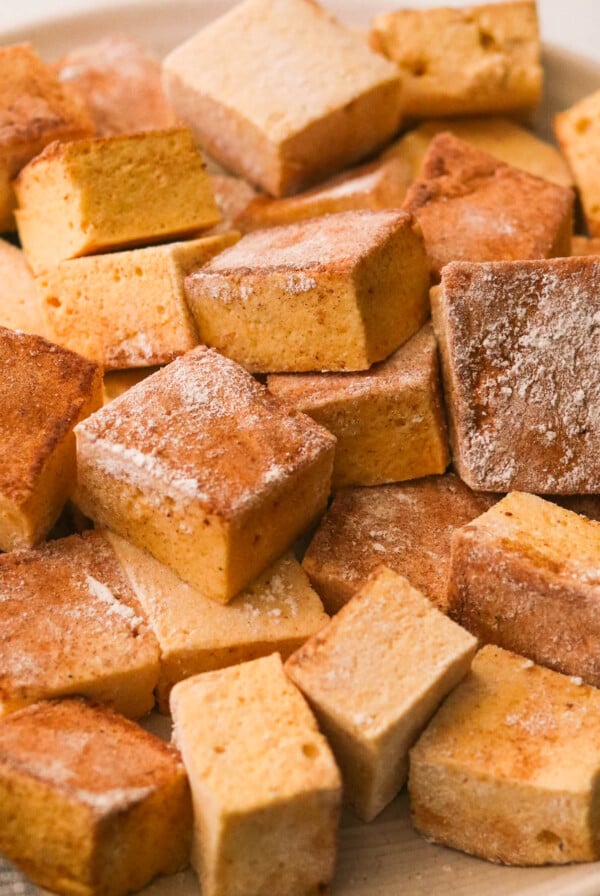
For more cookie inspiration, try my S’mores Cookies, Tiramisu Cookies, or these Strawberry Cheesecake Cookies for a fruity twist.
Watch a Short Video of This Recipe
Ingredients You’ll Need

Gluten Free Pumpkin Cookies
- Unsalted butter: Browning the butter adds a nutty, caramelized flavor that makes these stand out.
- Brown sugar + granulated sugar: Sweetness plus chewiness – both are needed for balance.
- Egg yolk: Helps the cookies stay chewy, not cakey.
- Vanilla extract: Enhances the warm flavors.
- Pumpkin puree: Use plain, canned pumpkin puree (not pumpkin pie filling).
- Gluten-free flour blend: I recommend Bob’s Red Mill 1-to-1 Baking Flour with xanthan gum. The xanthan gum is key because it mimics gluten, helping the cookies hold their shape and giving them that chewy structure that many gluten free recipes lack.
- Pumpkin pie spice: A cozy mix of cinnamon, nutmeg, cloves, allspice, and ginger.
- Baking soda + sea salt: Essential for lift and balance.
Cream Cheese Frosting
- Cream cheese: Room temperature for smooth mixing.
- Butter: Softened, adds richness.
- Vanilla extract: Warmth and sweetness.
- Powdered sugar: Creates a creamy, spreadable frosting.
How to Make Gluten Free Pumpkin Cookies
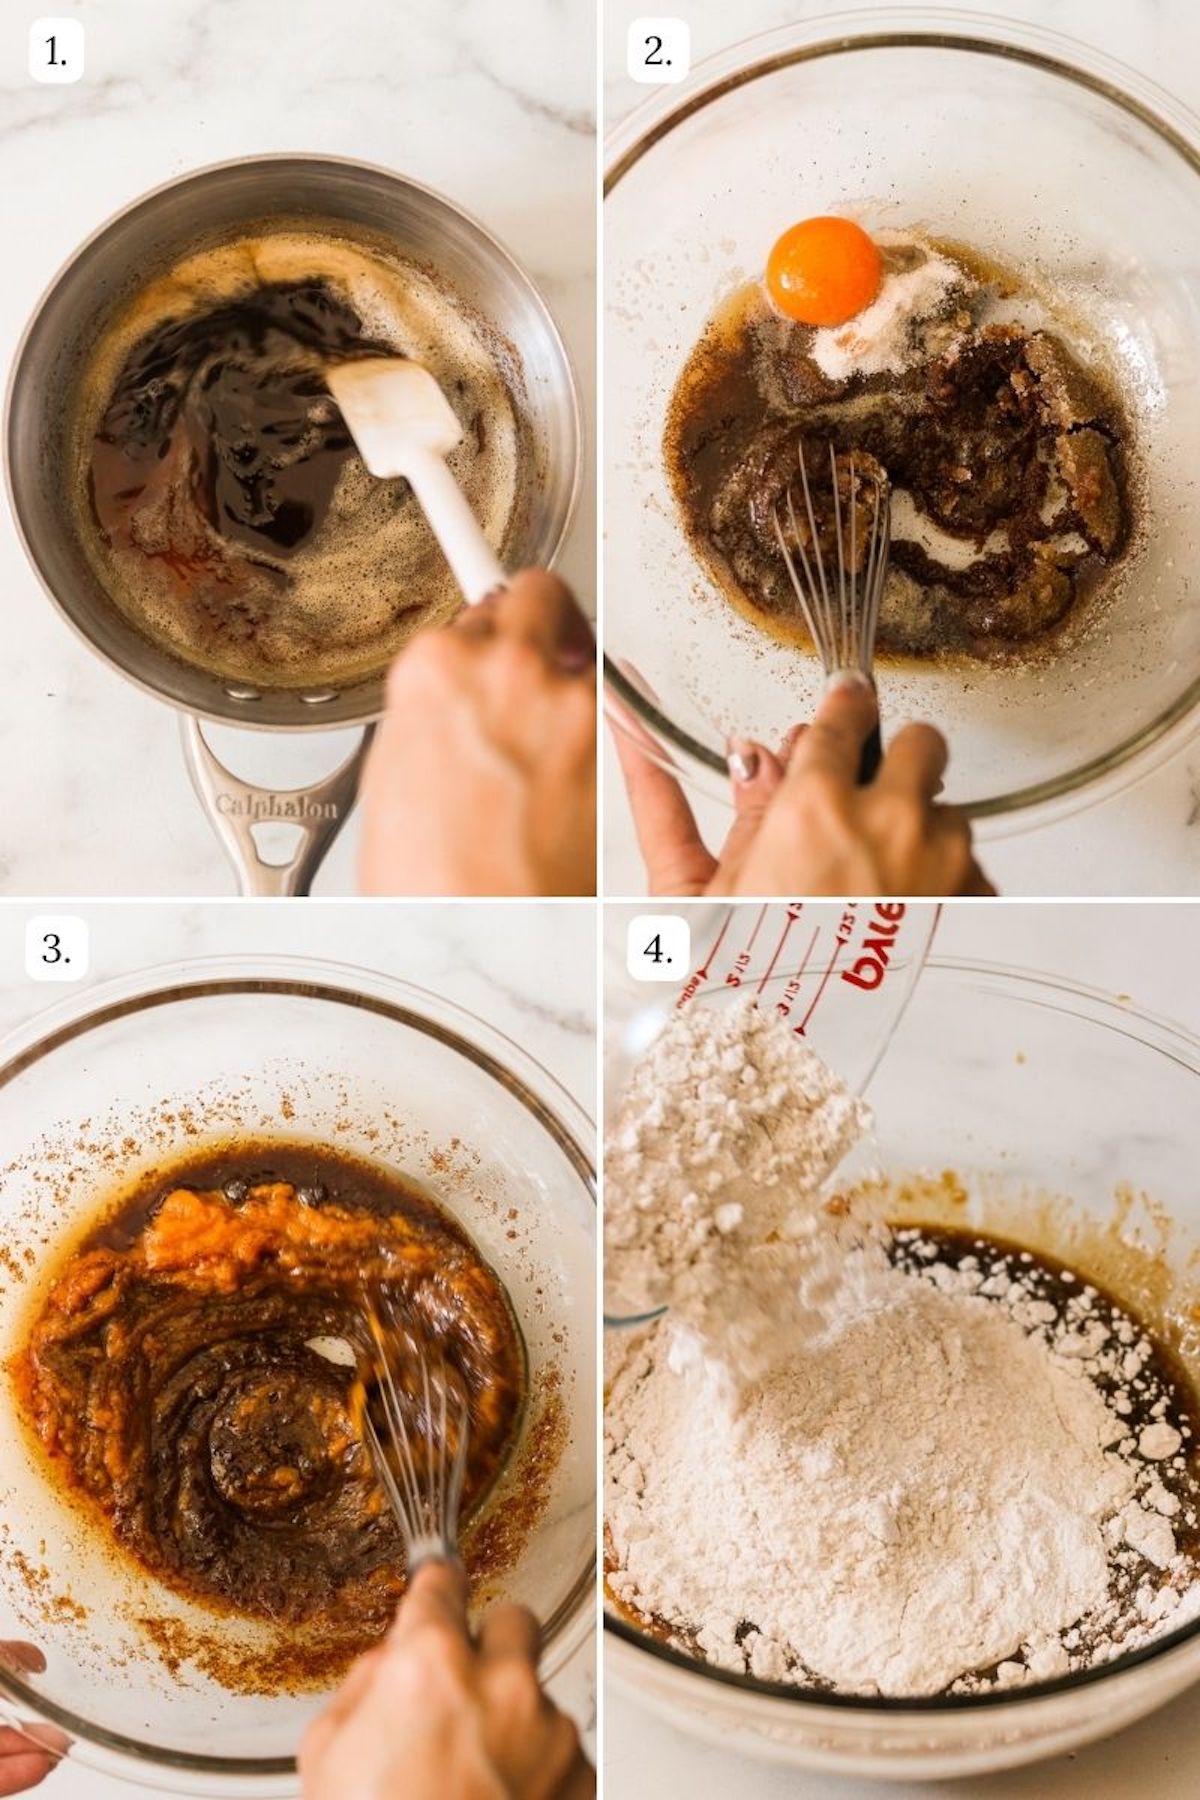
Step 1: Preheat oven to 350°F. Line a baking sheet with parchment paper. Brown the butter. In a saucepan over medium heat, melt butter, stirring often for 6-8 minutes, until golden with brown bits at the bottom. Transfer to a large mixing bowl and let cool for 10 minutes.
Step 2: Whisk in sugars, egg yolk, and vanilla until smooth. Stir in pumpkin puree.
Step 3: In a separate bowl, combine flour, pumpkin pie spice, baking soda, and salt.
Step 4: Add dry mixture to wet and stir until just combined.

Step 5: Scoop rounded tablespoons of dough (a small cookie scoop works well), roll into balls, and place on prepared sheet.
Step 6: Flatten slightly with your hand. Space about 2 inches apart. Bake 10-12 minutes until edges are golden and centers puffed. Cool for 10 minutes, then transfer to a wire rack.
Step 7: Make frosting by beating cream cheese, butter, and vanilla until smooth. Gradually add powdered sugar until spreadable. For drizzle-style frosting, thin with a splash of water.
Step 8: Frost cooled cookies and dust with pumpkin pie spice or cinnamon before serving.
Expert Tips
- Make sure to cool the cookies completely on a cooling rack before frosting, or the frosting will melt off.
- Do not skip on browning the butter. It gives the cookies a much deeper and bolder elevated flavor.
- You can fold in chopped nuts or chocolate chips to the batter if desired.

Storage & Make-Ahead Tips
- Room Temp: Best eaten the day of baking.
- Fridge: Store frosted cookies in a single layer until frosting sets, then stack with parchment in an airtight container. Keeps 3-4 days.
- Freezer: Freeze unfrosted cookies for best results. Store in a freezer-safe container for up to 3 months, then thaw overnight and frost fresh. If freezing frosted cookies, freeze individually on a tray before stacking.
- Make Ahead: Bake the cookies a day in advance and store unfrosted. Frost just before serving so they’re party-ready for a Halloween party or Thanksgiving dessert table.

Recipe FAQs
Pumpkin adds extra moisture, so using just the yolk (not the whole egg) and browning the butter ensures these cookies stay soft and chewy.
Yes. Because of the frosting, store them in the fridge after the first day.
Absolutely! Use vegan butter and a dairy-free cream cheese such as Kite Hill. The cookies still bake up beautifully.
Yes! Stir in ½ cup gluten-free chocolate chips to make gluten free pumpkin chocolate chip cookies.
These frosted gluten free pumpkin cookies bring everything I love about fall into one perfect bite: warm spice, real pumpkin flavor, and a tangy cream cheese finish. They’re easy to bake, freezer-friendly, and guaranteed to disappear fast!
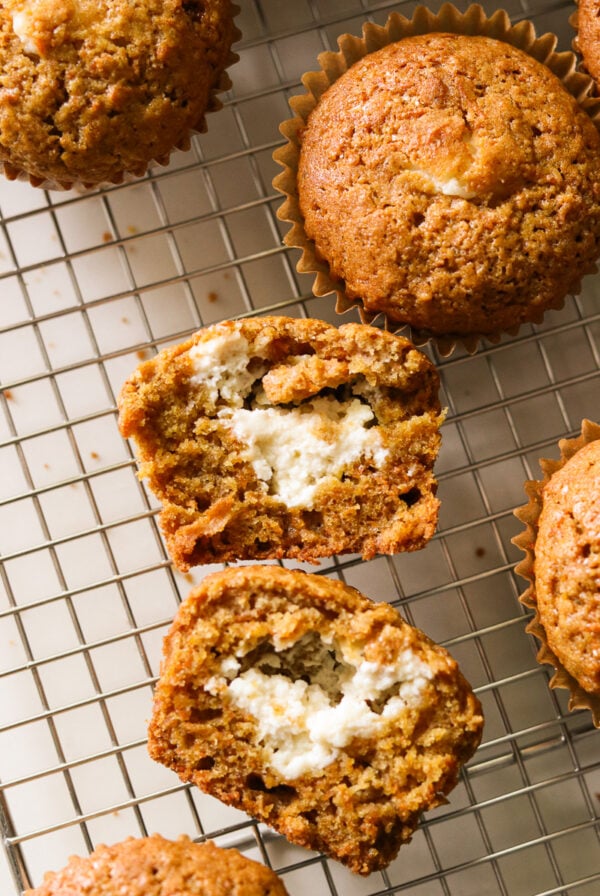
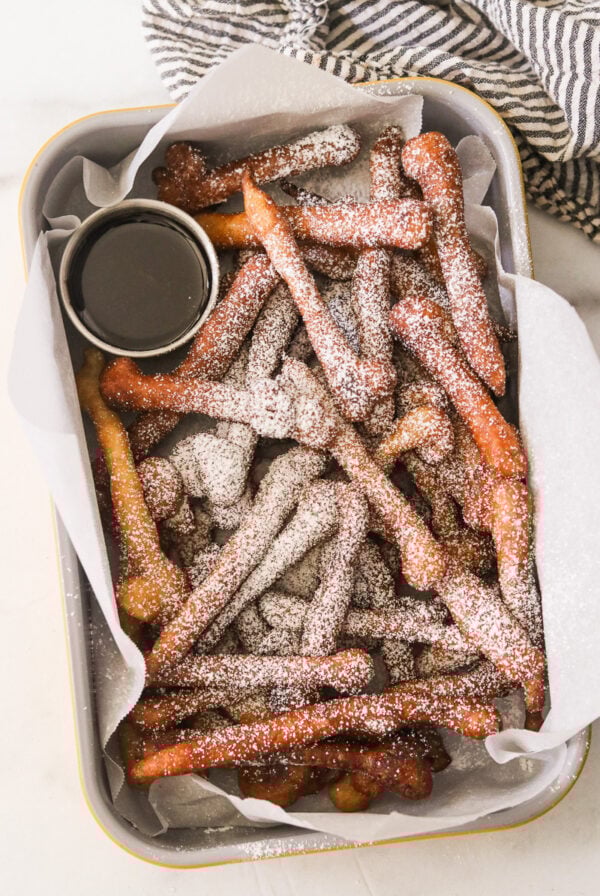
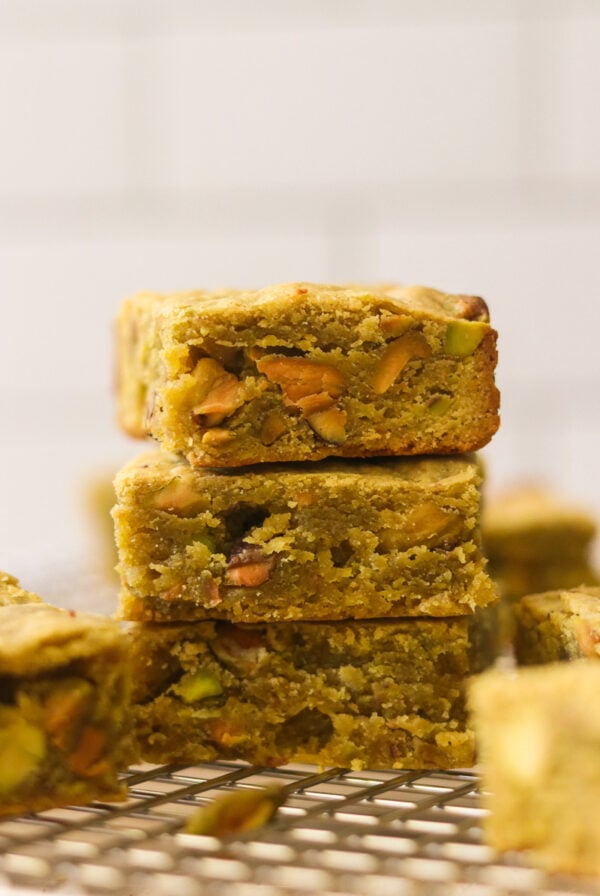
More Pumpkin Desserts to Try


If you make these Gluten Free Pumpkin Cookies, please leave me a star rating and comment below! I love to hear your thoughts and feedback. Follow me on social media Instagram, Facebook, and Pinterest for even more delicious recipes!
Soft & Chewy Gluten Free Pumpkin Cookies with Frosting
Video
Ingredients
- 1/2 cup butter
- 1/2 cup brown sugar, or coconut sugar
- 1/4 cup granulated sugar
- 1 egg yolk
- 1 tsp vanilla extract
- 1/3 cup pumpkin puree, not pumpkin pie filling
- 1¼ cup gluten free all-purpose flour, I used Bob's Red Mill
- 1½ tsp pumpkin pie spice
- 1/2 tsp baking soda
- 1/4 tsp sea salt
Cream Cheese Frosting
- 4 oz cream cheese, 1/2 brick, at room temperature
- 2 tbsp butter, at room temperature
- 1 tsp vanilla extract
- 1 cup powdered sugar
Instructions
- Preheat the oven to 350 degrees F and line a large baking sheet with parchment paper.
- Add butter to a saucepan over medium heat. Melt then cook for 6-8 minutes while stirring often. The butter begin to foam and turn golden brown. Once the foam reduces and you see brown milk solids at the bottom, pour into a large mixing bowl.1/2 cup butter
- Cool the browned butter for about 10 minutes, then add in brown sugar, granulated sugar, egg yolk, and vanilla extract. Whisk until smooth.1/2 cup brown sugar, 1/4 cup granulated sugar, 1 egg yolk, 1 tsp vanilla extract
- Add pumpkin puree and whisk to combine.1/3 cup pumpkin puree
- In a separate bowl, stir together gluten free flour, pumpkin pie spice, baking soda and sea salt until combined.1¼ cup gluten free all-purpose flour, 1½ tsp pumpkin pie spice, 1/2 tsp baking soda, 1/4 tsp sea salt
- Add dry ingredients to wet ingredients and stir until just combined.
- Scoop dough by rounded tablespoons and roll into balls. Place them on the parchment lined baking sheet and use your hands to flatten slightly. Make sure they are about 2 inches apart.
- Bake for 10-12 minutes until the edges are the golden and the centers are puffed up. Cool for 10 minutes then transfer to a wire rack to cool completely.
- Make the cream cheese frosting: Add cream cheese, butter, and vanilla extract to a bowl, and use an electric mixer to beat until smooth. Slowly add in powdered sugar until smooth and spreadable. You can add a bit more water if you want a thinner consistency for drizzling.4 oz cream cheese, 2 tbsp butter, 1 tsp vanilla extract, 1 cup powdered sugar
- Frost or drizzle the cookies with the frosting. You can sprinkle the top with cinnamon or pumpkin pie spice, if you want.
Notes
Expert Tips
- Make sure to cool the cookies completely on a cooling rack before frosting, or the frosting will melt off.
- Do not skip on browning the butter. It gives the cookies a much deeper and bolder elevated flavor.
- You can fold in chopped nuts or chocolate chips to the batter if desired.
- To make these pumpkin cookies dairy-free, swap the butter for vegan butter and the cream cheese for dairy-free cream cheese (Kite Hill brand makes a great cream cheese alternative).
- To make the frosting, use an electric hand mixer or stand mixer for best results.
Storage Tips
- To store, refrigerate in a single layer for a few hours so the frosting can harden, then stack them in layers in an airtight container with parchment paper in between them for 3-4 days.
- To freeze, I recommend freezing the cookies unfrosted for best results, but you can freeze frosted cookies if you want. Freeze in a single layer on a baking sheet for 2 hours, then transfer to a freezer bag or container (add parchment paper in between layers if frosted). Store for up to 2-3 months
- Thaw them overnight in the fridge. If unfrosted, make a fresh batch of cream cheese frosting and frost before serving.
Nutrition
Nutrition information is automatically calculated, so should only be used as an approximation.
What Great Grandma Ate / Jean Choi is a participant in the Amazon Services LLC Associates Program, an affiliate advertising program designed to provide a means for sites to earn advertising fees by advertising and linking to Amazon.com.
Regarding other affiliate links and affiliate relationships: In order for me to support my blogging activities, I may receive monetary compensation or other types of remuneration for my endorsement, recommendation, testimonial and/or link to any products or services from this blog. Thank you for your support and understanding.
These are INSANELY DELICIOUS!! I made them 3 times in one week. And yes, I even had some for breakfast with my coffee. Great flavor and so soft. These are definitely a keeper!!
That’s wonderful to hear. Thanks so much, Tash!
You mentioned that you like to adjust the ingredients a bit to make a version that’s cheerier. Could you share how you do that? Thank you so much.
For chewier cookies, you can chill the dough for about 30 minutes before baking!
My roommates and I made these together and they turned out DELICIOUS. I added a little more flour since the dough looked wet. We had to make a second batch a few days later.
Yay!! I’m so glad this was a repeat recipe for you. Truly makes me so happy. Thank you so much for leaving a review!
These cookies are absolutely delicious! I tweaked the recipe slightly by not adding the white sugar and increasing the spices. I’ll definitely make them again. Many thanks for your recipe.
Yay!!
Everyone who tried them loved these cookies, I will definitely make them again! I followed the recipe with some modifications, which I’ll comment on below:
-I doubled the ingredients in the recipe to make more cookies. My batter was a bit more wet than the batter in the TikTok video, so the cookies ended up being a little flatter/more spread out. But that may be due to some careless measuring on my part, and I still got amazing results!
-Browning my butter took a lot longer than 8 minutes. Causes May Include: I’ve never done it before, I used a small saucepan instead of a skillet, I was browning twice the amount of butter in the recipe, I stirred it too much, and/or the heat was too low? Once I stopped stirring so much and turned the heat up a little, it gradually developed the brown solids at the bottom. Not a huge fan of having to clean the sticky solids off the bottom of my saucepan, but browning the butter really did take the flavor to the next level!
-I used standard (i.e. not gluten free) all-purpose flour. It worked perfectly!
-I baked the cookies on a baking sheet without parchment paper. No issues there!
-I did not use an electric mixer to mix the frosting. The frosting was still delicious, but I do regret not having used a mixer. There were some visible chunks of sugar in it and it wasn’t as whipped/light as it may have been otherwise.
Thank you so much for leaving a detailed review! And yes, more butter means it’ll take longer to brown. I’m so glad you enjoyed these pumpkin cookies.
So good!! Missing a step in the recipe though to mix wet+dry ingredients, but I figured it out! When I made them, the batter was very loose so I let it sit for 5 mins and it thickened slightly. The cookies were a little more flat than I anticipated. Next time I will put the batter in the fridge to firm up for about 30mins-2hours so the cookies come out taller and less flat. Amazing recipe, so good after being chilled in the fridge!
So sorry about that! I just updated the instructions. So glad you enjoyed the recipe. And yes – you can definitely chill the dough, it’ll also make the cookies a bit chewier as well. So glad you enjoyed it!