This post may contain affiliate links. Please see our disclosure policy.
Learn how to make ghee on the stovetop, in the Instant Pot, or the slow cooker with consistent, yummy results. Homemade ghee is so easy, and so much cheaper than the store-bought version!

I’ve been making homemade ghee for years now using various methods, and it’s one of my favorite kitchen activities. Not only does it make the entire house smell amazing, it’s probably my favorite cooking fat that I use the most. I like to make a big batch at a time, and I love that it stays shelf stable for such a long time!
What is Ghee?
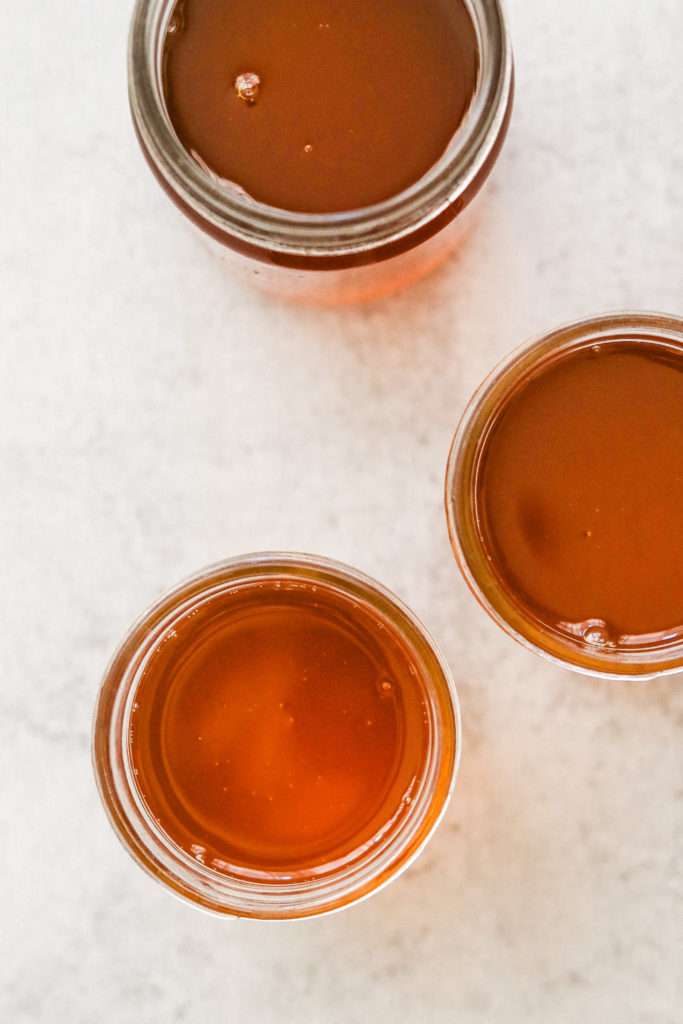
Ghee, often called liquid gold, is simmered and clarified butter that has been traditionally used in Indian and other South Asian cooking. It is made with butter that’s been simmered down so its milk proteins and moisture are removed and evaporated. People who are sensitive to lactose and casein in dairy and can’t tolerate butter find that they can enjoy ghee just fine. Still, ghee may not be right for you if you are ultra sensitive.
It’s absolutely delicious and nutritious, and has a higher smoking point than butter, making it great for high-heat cooking. You can use it for cooking eggs, sautéing and stir frying, or even roasting in the oven. I’ve even blended it in to my bulletproof coffee instead of butter.
Ever since I started making homemade ghee, it’s all I’ve been cooking with because of its nutty and toasty pleasant flavor that’s even better than butter.
What Are the Benefits of Ghee?
Ghee is rich in vitamins A, E, and K, which play essential roles in our body like boosting our immune system, promoting skin and reproductive health, building our cell membranes, and supporting our bone health.
The high amount of butyric acid and Omega-3 fatty acids in ghee decrease inflammation in the body and reduces the levels of unhealthy cholesterol. Butyric acid is especially beneficial for our gastrointestinal lining, and ghee is highly recommended for anyone looking to improve gut health.
Ghee also has antioxidant properties with its carotenoids and vitamins, which have the power to get rid of harmful free radicals in the body. The combination of its nutrients can help reduce oxidative stress and help fight cancer.
How to Make Ghee
Homemade ghee can be made on the stovetop, in the Instant Pot, or even in the slow cooker. I’ve made it using all three ways, and stovetop ghee is my favorite method. Ghee in the slow cooker will take the longest. However, no matter which method you choose, it’s super easy and way cheaper than buying it pre-made. You’ll find that the process of butter turning to ghee is pretty much the same in all three of these methods.
1. Cut the butter into smaller pieces.
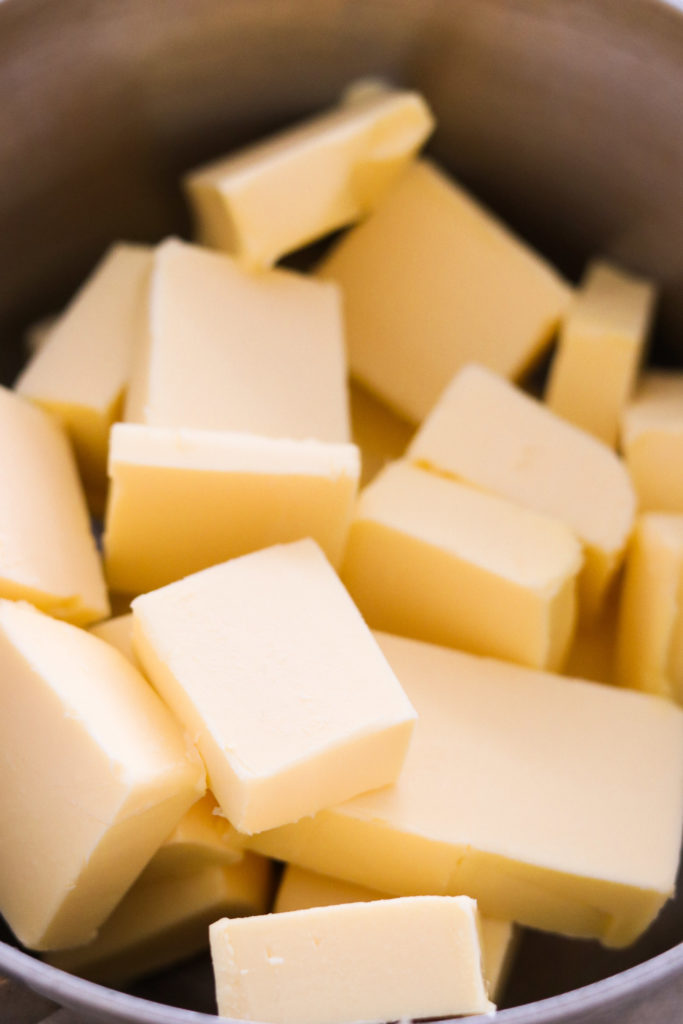
This allows the butter to melt evenly throughout and the milk solids to foam and brown consistently.
2. Heat up the butter to melt it completely.

For stovetop ghee, this just means putting the butter in a saucepan and turning on your stove. If you are making Instant Pot ghee or ghee in the slow cooker, this simply means turning on the appliances. You’ll just be using the Sauté function for the Instant Pot.
3. Simmer to let the milk solids float to the top, then skim them off.

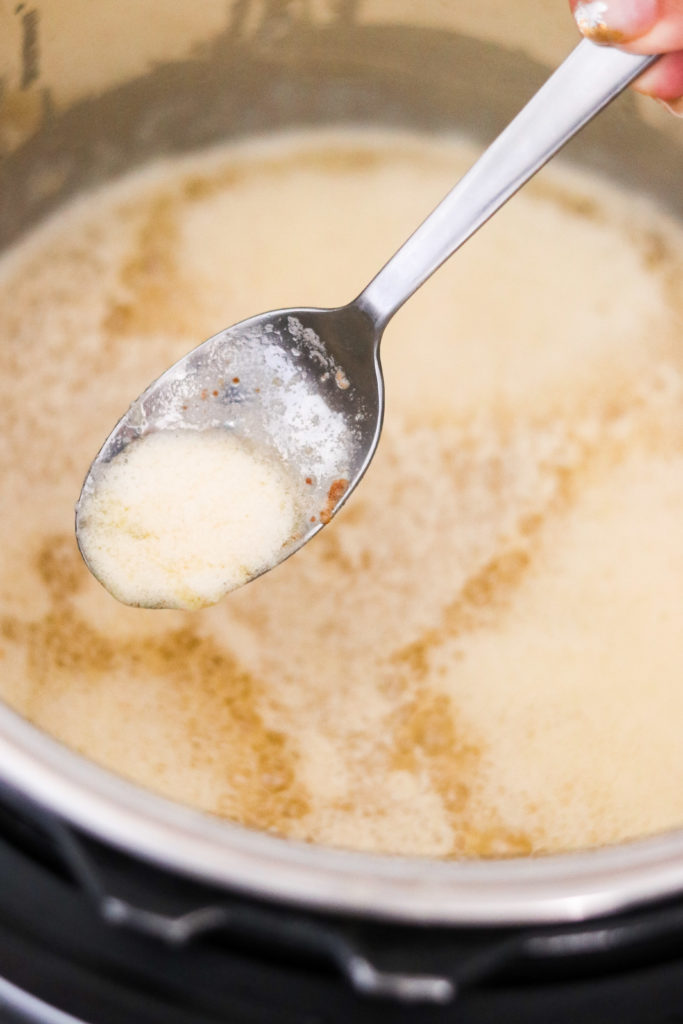
After the butter sits simmering for several minutes on medium-low heat, you’ll see the milk solids foam up to the top as they separate from the fat. When making ghee in the slow cooker, this will happen much slowly (about an hour) since the temperature is lower than simmering in the stovetop or the Instant Pot. You can use a large spoon to skim off the foam.
4. Continue simmering until the milk solids settle to the bottom and brown.

Some of the milk solids will sink to the bottom of the pot and starting turning brown in color. The butter fat will start turning clear so you can see the bottom of the pot easily, while turning golden yellow in color. And then it’ll start smelling amazing, almost like butterscotch or toffee! This is when you can turn off the heat and let the ghee cool for several minutes.
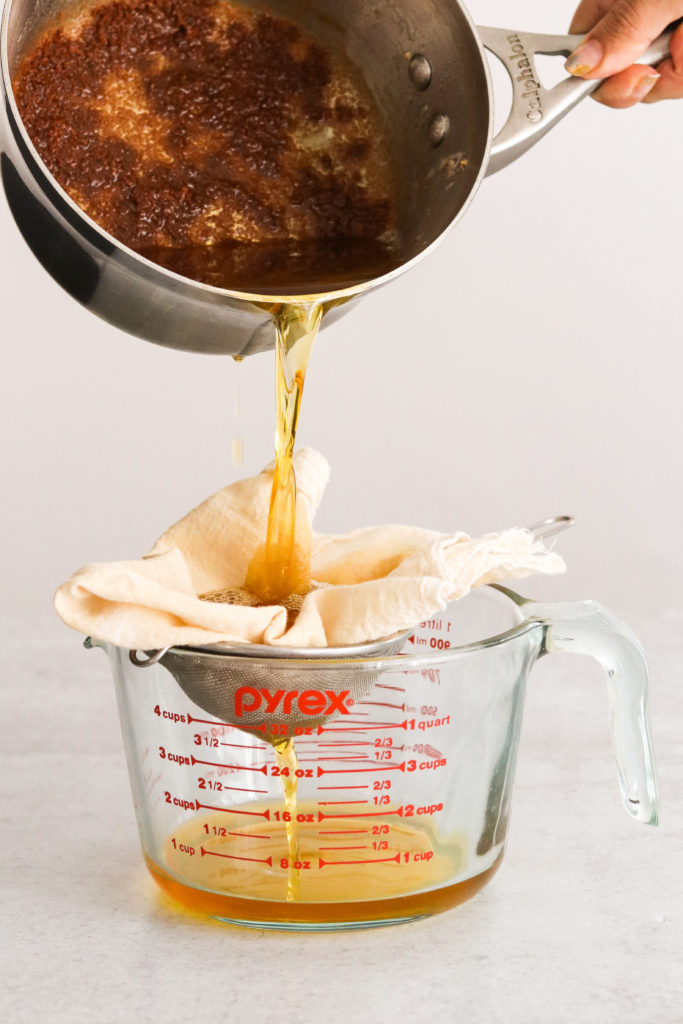
5. Strain and pour into a heatproof jar.
After the ghee has cooled for about 5 minutes, you can transfer to a glass jar to store it. It’s important to strain the ghee first to remove the milk solids completely. I like to place a fine mesh strainer like this one over the glass jar, line it with 2-4 layers of cheesecloth, then pour the ghee over it into the jar so the cheesecloth catches the milk solids.
6. Cool completely before storing and using!
It’s important to cool the homemade ghee completely before putting the lid on. The steam can build moisture if trapped and cause mold in the ghee. Once completely cooled at room temperature, you can cover it and store it at room temperature for up to 6 months or in the fridge for up to a year!

How to Use Ghee
- Ghee has a high smoke point (about 480 degrees F), so it’s great for sautéing, frying, roasting, or in any high heat cooking.
- I love using ghee in place of butter or coconut oil in baking. It imparts a deeper and more butter-y flavor than butter and makes heavenly baked goods!
- If you are a fan of bulletproof coffee, you can use ghee in place of butter.
- Drizzle over gluten free toast, popcorn, or just about anything!

Other recipes you might love…
- How to Save the Fat from Bone Broth
- Slow Cooker Bone Broth
- How to Make Paleo Mayonnaise
- Fermented Jalapeño Hot Sauce
- Easy Mason Jar Sauerkraut

Homemade Ghee 3 Ways (Stovetop, Instant Pot, Slow Cooker)
Ingredients
- 16 oz butter, preferably grass fed
- Fine mesh strainer
- Cheesecloth
- Heatproof container
- Glass jar with airtight lid
Instructions
- Cut the butter into small 1-inch chunks.
- Follow the instructions below for making ghee, depending on which method you want to use.
- Place a fine mesh strainer over a heatproof container and line the strainer with several layers of cheesecloth.
- Pour the finished ghee through the cheesecloth-lined strainer into the container. The cheesecloth will catch the browned milk solids, which you can throw away after.
- Let the ghee cool completely at room temperature, then transfer to glass jars.
- Tighten the lid and keep at room temperature for up to 6 months, or in the refrigerator for up to a year.
Stovetop Instructions
- Add butter to a medium saucepan and turn the heat on to medium.
- Once the butter is melted, turn down the heat to medium low.
- Let the butter simmer for 12-15 minutes without touching it. You'll see some white foam (milk solids) floating to the top. You can use a spoon to skim most of it off. The rest of it will eventually sink to the bottom.
- Once the milk solids have settled at the bottom and turned lightly browned, the ghee is done. The ghee will be clear and golden yellow in color, and smell nutty.
- Turn off heat and let cool for 5 minutes.
Instant Pot Instructions*
- Place butter in the metal insert of a 6qt Instant Pot, and turn on to Sauté.
- Let it cook for 8-10 minutes without touching (I like to set a timer for 8 minutes). You'll see the milk solids foam up to the top while it cooks. You can use a spoon to skim most of it off. The rest of it will eventually sink to the bottom.
- The ghee is done when the milk solids on the bottom are lightly browned in color. The ghee will be clear and golden yellow in color, and smell nutty.
- Turn off the Instant Pot and let cool for 5 minutes. The milk solids will turn darken more to a caramel color as they cook more during this time.
Slow Cooker Instructions
- Place the butter in the slow cooker and set it to HIGH for 4 hours. Keep the lid uncovered.
- After 2 hours, start checking on the ghee.
- There should be white foam forming at the top. You can use a spoon to skim it off. Keep letting it cook until the rest of the milk solids sinks to the bottom and start turning brown. This may take another 30 minutes to 1 hour depending on your slow cooker. When done, the ghee will be clear and golden yellow in color (this may be harder to see if your slow cooker liner is black), and smell nutty.
- Turn off the slow cooker and let cool for 5 minutes.
Notes
Nutrition
Nutrition information is automatically calculated, so should only be used as an approximation.
Regarding other affiliate links and affiliate relationships: In order for me to support my blogging activities, I may receive monetary compensation or other types of remuneration for my endorsement, recommendation, testimonial and/or link to any products or services from this blog. Thank you for your support and understanding.






I MADE GHEE!!!
I have been so intimidated by the idea. I’m a chicken. So, I only made 2 sticks of butter to try in case I’d have to toss the whole thing. But it was EASY PEASY following the stovetop instructions.
AMAZING!! Love this so much!
Do you have to strain it if you are using the Instant Pot?
I still do just in case there’s any left. If you store with any milk solids, there’s a chance the ghee will go bad quickly.
I was going to buy a ceramic butter keeper with ceramic lid, which is not airtight. If I use about a pound of butter per week, does it need to be airtight?
No, it doesn’t need to be airtight if you go through it that fast.
Thank you for the super easy to follow directions! I had some leftover butter sticks from Christmas baking so I decided to make ghee! I think I did something wrong though, I think I burned my ghee, is that a thing? It still tastes good, but its very dark in color and smells a bit more nutty (actually reminds me of walking past the caramel corn shops at the mall).
You just heated for a bit too long but it’s still fine! I’m sure it tastes amazing. It’s just more of a browned butter now but you can still cook with it the same way as ghee.
Never buying ghee again. Used the crock pot method..it was awesome and easy. Thank you for posting this.
Amaazing!! I’m so glad!