This post may contain affiliate links. Please see our disclosure policy.

A cute, tasty, and festive treat, these Valentine’s Cake Pops are the perfect dessert for kids and adults! This step-by-step guide yields 28 cake pops made with homemade vanilla cake and a naturally dyed white chocolate shell!

What Makes This Recipe Great
It’s almost Valentine’s Day, which means it’s time for all the festive heart-shaped treats! These adorable Valentine’s Cake Pops are made from scratch and gluten-free—the most lovable treat for the most love-filled holiday.
Moist and fluffy crumbled cake mixed with cream cheese frosting ingredients to form individual heart-shaped cake pops, which are then dipped into a sweet and pink white chocolate coating and decorated with sprinkles.
Whether you’re making them for a class party or just enjoying them at home, this easy recipe will be a big hit!
Watch a Short Video of This Recipe
Ingredient Notes

Cake Pops
- Butter
- Avocado oil
- Granulated sugar
- Eggs
- Vanilla extract
- Milk of choice: At room temperature (I used almond milk).
- Gluten-Free Flour: I used Bob’s Red Mill.
- Baking Powder
- Sea Salt
- Cream Cheese: Softened at room temperature, plus more if needed.
- Powdered Sugar
Shell
- White chocolate chips
- Beetroot powder: Or red food dye.
- Heart sprinkles: Red, pink, or white sprinkles would also work.
Step-by-Step Instructions


- Before you begin, keep in mind that you’ll need room-temperature eggs, milk, and cream cheese for best results. Preheat oven to 350 degrees F, and line an 8×8 baking pan with parchment paper.
- In a large mixing bowl, combine butter, avocado oil, sugar, eggs, vanilla, and milk. Beat together until smooth.
- Add flour, baking powder, and sea salt, and beat until just combined.
- Pour the cake batter into the prepared baking pan. Bake for 28-32 minutes until a toothpick inserted in the center comes out clean.
- Cool for at least 30 minutes, then crumble the baked cake in a large bowl using a wooden spoon or a stand mixer.
- Add cream cheese and powdered sugar to the cake crumbs and mix until it becomes a smooth, workable consistency that can be rolled up into balls. You can add more cream cheese if the mixture is too dry.
- Line a large plate or a baking sheet pan with parchment paper. Roll into 1½ inch cake balls in the palm of your hand and place them on the parchment. If you want to make hearts, first roll into a ball, then make a point at the bottom. Use a lollipop stick or a toothpick to make a dent at the top and shape with your hands into a heart.
- Place in the freezer for 1 hour.
- In a double boiler or a microwave, melt the white chocolate until smooth in consistency. If you want to make a pink coating, add beetroot powder or red dye and stir, adding a little more at a time until you like the color.
- It’s best to place the white chocolate mixture in a narrow, tall container while you do this. Stick a lollipop stick into each cake pop, and then dip cake pops into the melted chocolate to coat. Let any excess chocolate drip off, then Immediately add sprinkles if using.
- Stick the cake pops into a styrofoam block or a cake pop stand. You can also lay them down on parchment paper. They should set in a few minutes since the cake pops are so cold. Enjoy! Store in the fridge in an airtight container for up to a week.

Expert Tips
- Your Valentine’s cake pops can be made into a heart or a circle – both look great!
- If desired, you can use 1/2 of a box of cake mix instead of making a homemade cake. Prepare and bake according to package directions and start at step 5. If you do decide to use a boxed cake mix, feel free to make a chocolate cake, strawberry, or red velvet cake mix. My homemade version yields a vanilla cake.
- If melting the chocolate in a microwave, do so in 15-20 second intervals to make sure it doesn’t burn. Make sure to use a microwave-safe bowl.
- I used white chocolate and added beetroot powder to make it pink. You can also use red food dye. If desired, you can use pink candy melts instead of white chocolate.
Storage Tips
- Store leftovers in an airtight container in the refrigerator for up to 1 week.

More Valentine’s Day Sweet Treats
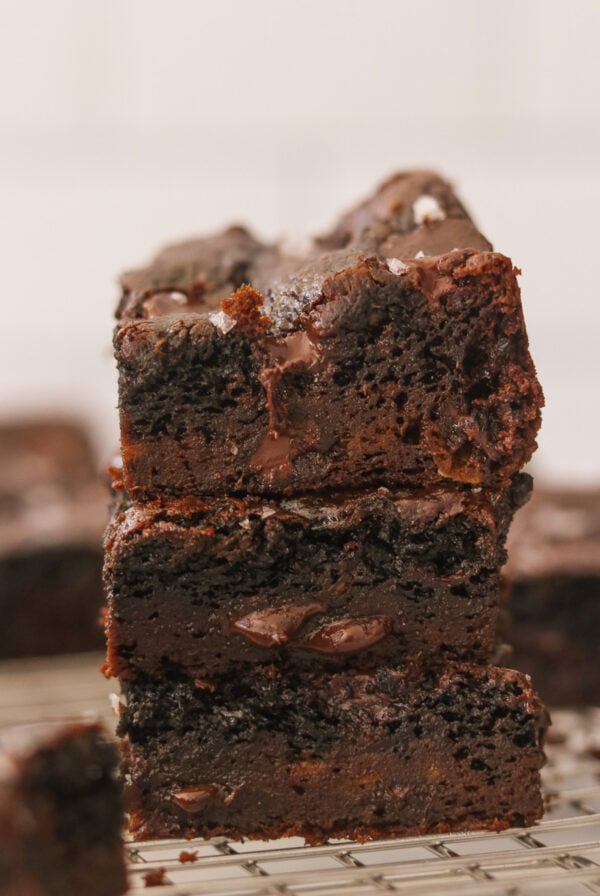
White Chocolate Strawberry Brownies
Strawberry No Bake Cheesecake Bars
Cherry Jam Filled Chocolate Cups
Chocolate Covered Strawberry Mini Cheesecakes
If you make this recipe, please leave me a star rating and comment below! I love to hear your thoughts and feedback. Follow me on social media Instagram, Facebook, and Pinterest for even more delicious recipes!

How to Make Heart-Shaped Valentine’s Cake Pops
Video
Equipment
- Cake pop stand optional
- OR styrofoam block optional
Ingredients
- 1/4 cup butter, melted and cooled
- 1/4 cup avocado oil, or any neutral oil
- 3/4 cup granulated sugar
- 2 eggs, at room temperature
- 2 tsp vanilla extract
- 1/2 cup milk of your choice, at room temperature (I used almond milk)
- 1½ cups gluten free all-purpose flour, I used Bob's Red Mill
- 2½ tsp baking powder
- 1/4 tsp sea salt
- 1/3 cup cream cheese, at room temperature, plus more if needed
- 1/2 cup powdered sugar
Coating
- 1½ cup white chocolate chips
- Optional: 3/4 tsp beetroot powder, or more, for color – or a few drops for red food dye
- Optional: festive sprinkles, I got mine from Trader Joe's
Instructions
- Before you begin, keep in mind that you'll need room temperature eggs, milk, and cream cheese for best results. Preheat oven to 350 degrees F, and line an 8×8 baking pan with parchment paper.
- In a large mixing bowl, combine butter, avocado oil, sugar, eggs, vanilla, and milk. Beat together until smooth.
- Add flour, baking powder, and sea salt, and beat until just combined.
- Pour into the prepared baking pan. Bake for 28-32 minutes, until a toothpick inserted in the center comes out clean.
- Cool for at least 30 minutes, then crumble the cake in a large bowl using a wooden spoon or a stand mixer.
- Add cream cheese and powdered sugar, and mix until it becomes a smooth workable consistency that can be rolled up into balls. You can add more cream cheese if the mixture is too dry.
- Line a large plate or a baking sheet with parchment paper. Roll into 1½ inch cake balls and place them on the parchment. If you want to make hearts, first roll into a ball then make a point at the bottom. Use a lollipop stick or a toothpick to make a dent at the top and shape with your hands into heart.
- Freeze for 1 hour.
- In a double boiler or a microwave, melt the white chocolate until smooth in consistency. If you want to make a pink coating, add beetroot powder or red dye and stir, adding a little more at a time until you like the color.
- It's best to place the white chocolate mixture in a narrow, tall container while you do this. Stick a lollipop stick into each cake pop, and then dip into the white chocolate to coat. Immediately add sprinkles, if using.
- Stick the cake pops into a styrofoam block or a cake pop stand. You can also lay them down on parchment paper. They should set in a few minutes since the cake pops are so cold. Enjoy! Store in the fridge in an airtight container for up to a week.
Notes
Expert Tips
- Your Valentine’s cake pops can be made into a heart or a circle – both look great!
- If desired, you can use 1/2 of a box of cake mix instead of making a homemade cake. Prepare and bake according to package directions and start at step 5. If you do decide to use a boxed cake mix, feel free to make a chocolate cake, strawberry, or red velvet cake mix. My homemade version yields a vanilla cake.
- If melting the chocolate in a microwave, do so in 15-20 second intervals to make sure it doesn’t burn. Make sure to use a microwave-safe bowl.
- I used white chocolate and added beetroot powder to make it pink. You can also use red food dye. If desired, you can use pink candy melts instead of white chocolate.
Storage Tips
- Store leftovers in an airtight container in the refrigerator for up to 1 week.
Nutrition
Nutrition information is automatically calculated, so should only be used as an approximation.
What Great Grandma Ate / Jean Choi is a participant in the Amazon Services LLC Associates Program, an affiliate advertising program designed to provide a means for sites to earn advertising fees by advertising and linking to Amazon.com.
Regarding other affiliate links and affiliate relationships: In order for me to support my blogging activities, I may receive monetary compensation or other types of remuneration for my endorsement, recommendation, testimonial and/or link to any products or services from this blog. Thank you for your support and understanding.