This post may contain affiliate links. Please see our disclosure policy.
How to make healthy, nourishing body butter with 3 simple ingredients that are skin-safe, chemical-free, and super hydrating! Your dry skin will thank you, and so will your wallet.

Why You’ll Love This Recipe
One of my favorite things to do after I shower (besides checking Instagram for 10 minutes in my towel) is slathering on my Homemade Body Butter. My skin has always been on the dry and sensitive side, so I need all the help I can get! You might think I don’t need it as much in the summer, but summers are the driest in California, and I can definitely tell the difference in the way my skin looks and feels during the warmer months.
I started making my own body butter about 2 years ago when I couldn’t find a moisturizing lotion with ingredients I was satisfied with that was also in my price range. They all contained hormone disruptors and chemical fragrances that I did NOT want near my skin. And if I did find something to my liking, it was way out of my price range.
I love that I can control all the ingredients in the body butter I make at home, and the best thing is that it works! I switch it up with different scents from different oils, but the recipe is really perfect as is if you don’t like a scent.
This homemade version will work for most skin types, but it’s always recommended to use a small amount in one area of skin to test for any allergies or irritations.

Amazing Store-Bought Options
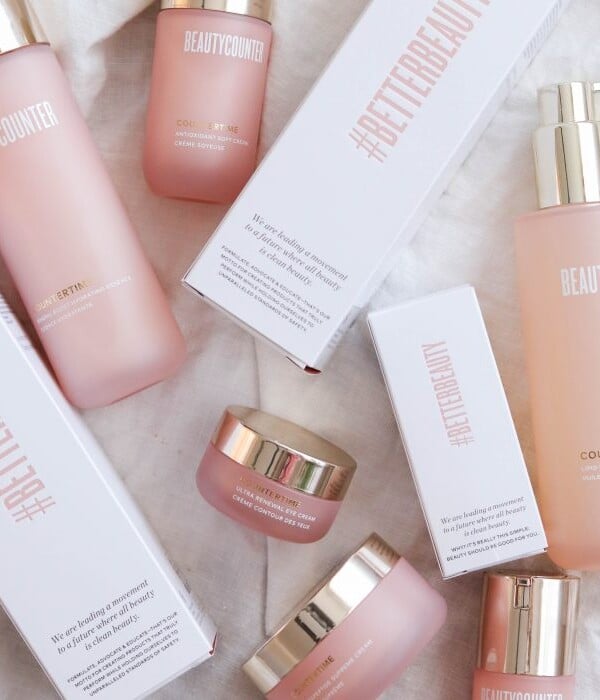
Here are some of my favorite body products and butter from Beautycounter, all with an EWG rating of 1 or 2 (that’s like getting the best grades for having the safest ingredients from your toughest teacher!). If you’re concerned about finding natural products, EWG is a great resource. They even have an app!
Beautycounter makes a ton of beauty products that are made with natural ingredients and is my first stop when I’m looking for something that I can’t or don’t want to make myself.
How to Make Body Butter
All the things that make this body butter edible (yes, you can eat shea butter!) make me feel confident about using it every day. Our skin absorbs SO MUCH of what we put on it, so it’s important to use the safest possible ingredients in our products. There are no chemicals, preservatives, or artificial fragrances, just simple, natural ingredients.
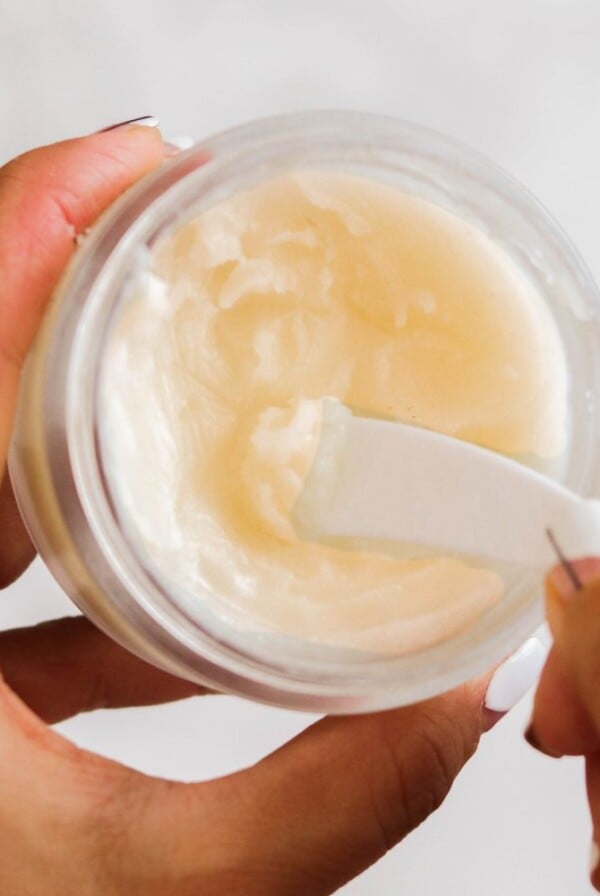
I love how smooth and fluffy this body butter is, and it immediately soothes my skin all year round! Plus, It’s such a simple recipe and yields the most luxurious body butter!
Ingredient Notes

- shea butter: This main ingredient is moisturizing and full of vitamins and fatty acids. It has a nutty aroma and is actually edible!
- organic coconut oil
- extra virgin olive oil
- Optional: 1 tsp vitamin E oil (It’s a great anti-aging antioxidant!)
- Optional: 20-30 drops of pure essential oils of your choice (lavender essential oil, tea tree, peppermint, citrus oils, sweet almond oil, etc.).
Step-by-Step Instructions


- In a double boiler or a saucepan over low heat, melt shea butter and coconut oil and stir until they are melted.
- Remove from heat for 10 minutes, then stir in extra virgin olive oil, vitamin E oil, and essential oils if using. Transfer to a glass bowl.
- Place the mixture in the fridge for 1 hour until it sets and solidifies a bit.
- Use a whisk, or electric mixer like a hand mixer, or stand mixer to whip until it reaches a fluffy consistency.
- Store in a glass jar with a tight-fitting lid.
- Use like regular body lotion. A little bit goes a long way!

Expert Tips & Variations
- You can customize your DIY body butter recipe according to your preferences by adding drops of different essential oils (lemon, lavender, orange, etc.).
- These make great Christmas gifts and birthday gifts, and “just because” gifts! Simply purchase empty glass containers with lids online and fill them with this recipe. Tie a bow around the outside and gift it to your friends and family.
Storage Tips
Store at room temperature in a cool, dry place out of direct sunlight. It has a pretty long shelf life, but you’ll probably use it all up before then, anyway!
When the weather is warm, the body butter may liquify. If needed, store it in the fridge and whip it back to the desired consistency.
More DIY Recipes
If you make this recipe, please leave me a star rating and comment below! I love to hear your thoughts and feedback. Follow me on social media Instagram, Facebook, and Pinterest for even more delicious recipes!

How To Make Body Butter (Easy Recipe!)
Ingredients
- 1/2 cup shea butter
- 1/4 cup coconut oil
- 1/4 cup extra virgin olive oil
- Optional: 1 tsp vitamin E oil It’s a great anti-aging antioxidant!
- Optional: 20-30 drops of essential oils lavender, tea tree, etc
Instructions
- In a double boiler or a saucepan over low heat, melt shea butter and coconut oil and stir until they are melted.
- Remove from heat for 10 minutes, then stir in extra virgin olive oil, vitamin E oil, and essential oils if using.
- Place the mixture in the fridge for 1 hour until it sets and solidifies a bit.
- Use a whisk or a hand mixer to whip until it reaches a fluffy consistency.
- Store in a glass jar with a tight-fitting lid.
- Use as a regular body lotion.
Notes
Expert Tips & Variations
- You can customize your DIY body butter recipe according to your preferences by adding drops of different essential oils (lemon, lavender, orange, etc.).
- These make great Christmas gifts and birthday gifts, and “just because” gifts! Simply purchase empty glass containers with lids online and fill them with this recipe. Tie a bow around the outside and gift it to your friends and family.
Storage Tips
Store at room temperature in a cool, dry place out of direct sunlight. It has a pretty long shelf life, but you’ll probably use it all up before then, anyway! When the weather is warm, the body butter may liquify. If needed, store it in the fridge and whip it back to the desired consistency.Regarding other affiliate links and affiliate relationships: In order for me to support my blogging activities, I may receive monetary compensation or other types of remuneration for my endorsement, recommendation, testimonial and/or link to any products or services from this blog. Thank you for your support and understanding.


I love that it is so simple with easy to access ingredients, thank you!
Absolutely love this recipe, my skin feels great…
Thank you!